Leaderboard


Popular Content
Showing content with the highest reputation on 09/25/2022 in all areas
-

Change Speedometer on Buick Regal Limited Edition 1990
94 olds vert reacted to Schurkey for a topic
I'd expect the wiring schematics plus the connector pin-out information to be in the 1990 Regal service manual, in the wiring section. I get most of my manuals used, from eBay. I've bought a couple of service-manual-on-disc (CD-ROM or DVD) and they work OK, but I prefer paper books.1 point -

Change Speedometer on Buick Regal Limited Edition 1990
94 olds vert reacted to CRT for a topic
I have the connector. the problem is i dont know anything about the wiring. i didn´t find wiring diagrams from this two speedometers. that is the problem. i also have the article numbers of the two speedometers. i´m searching about two weeks for wiring diagrams but can´t find anything.1 point -
LS4 swap begins
90sEraWhips reacted to carkhz316 for a topic
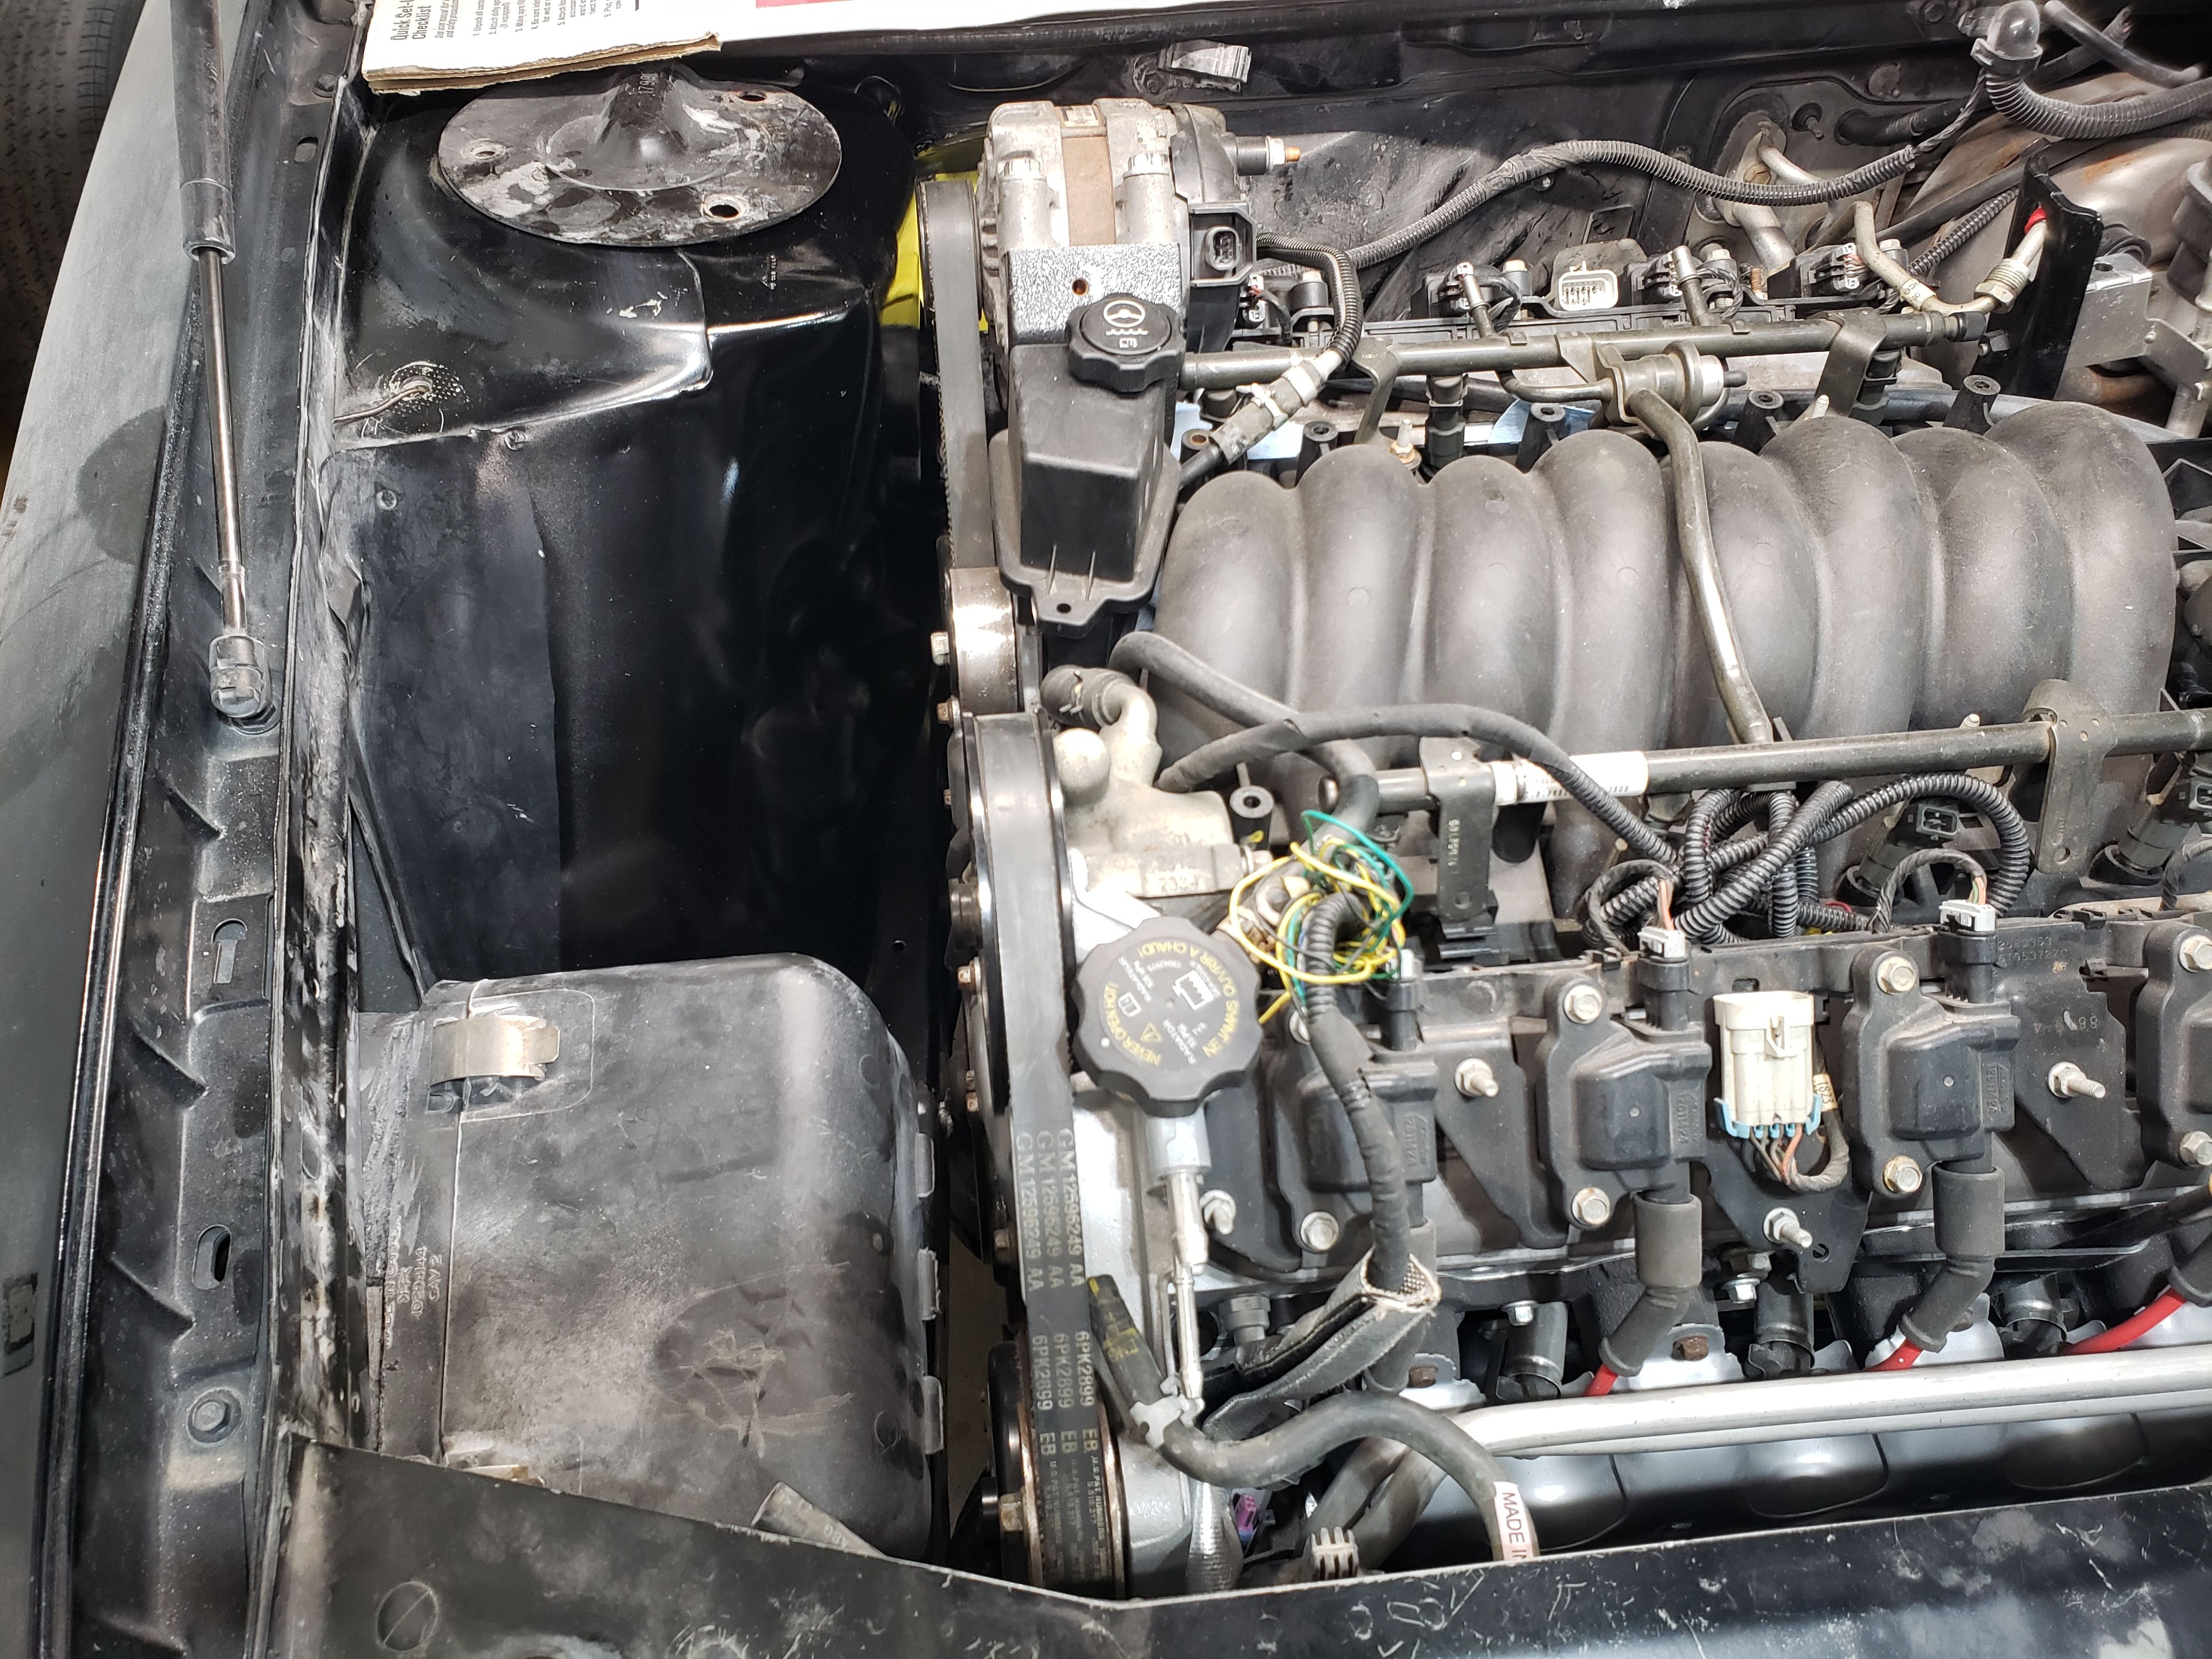
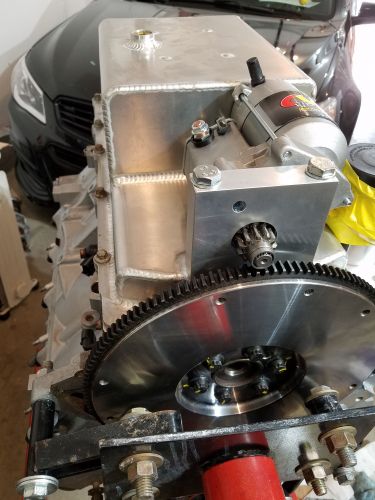
This is actually after I've consolidated all the LS4 and Z34 wiring. There are no extra wires left in this picture. It really looks worse than it is. Theres really only a few main bundles to sort through, otherwise the rest are categorized based on component/ sensor, etc. with labels at the PCM end so I can keep track of everything. The foreground bundle is the original Z34 front end harness that has the battery cable, ground cable(s), fan wiring, and any accessories on the drivers side of the engine bay, so it'll be returned back to the bottom of the radiator support. I had to take it apart to rid it of the old 4T65 wiring and some other bits.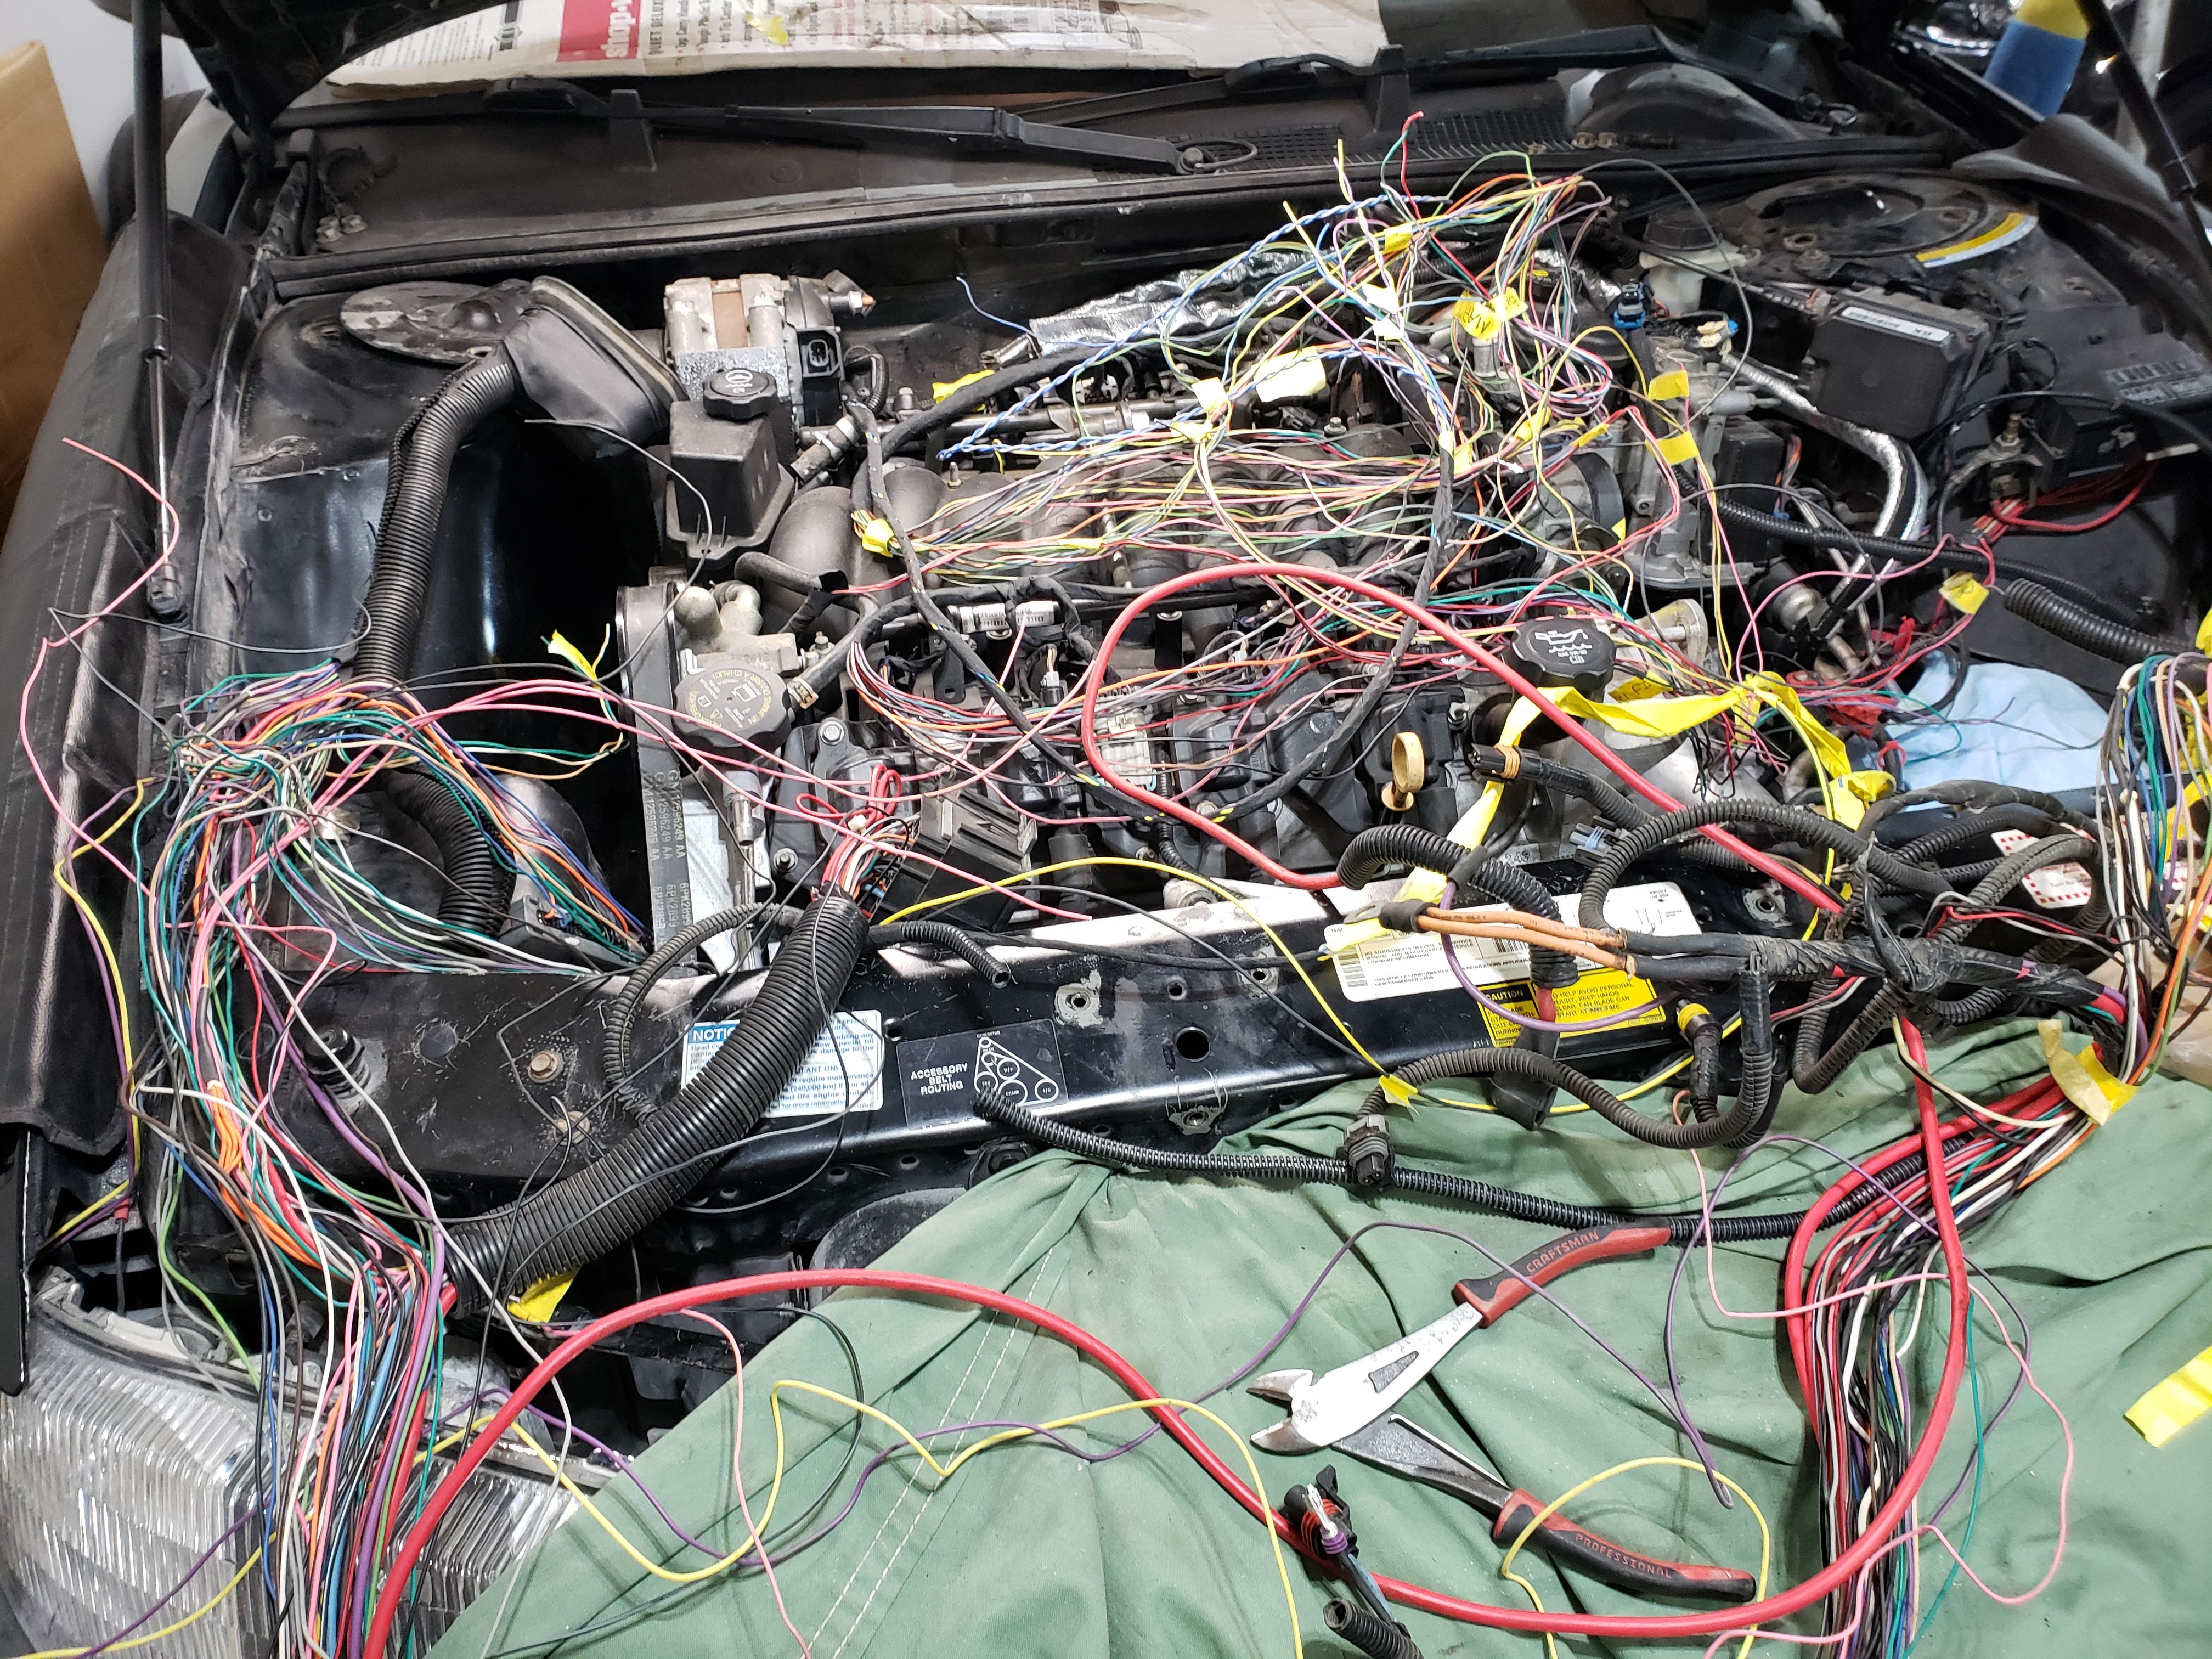 1 point
 -
LS4 swap begins
RPE1992GPSE reacted to carkhz316 for a topic
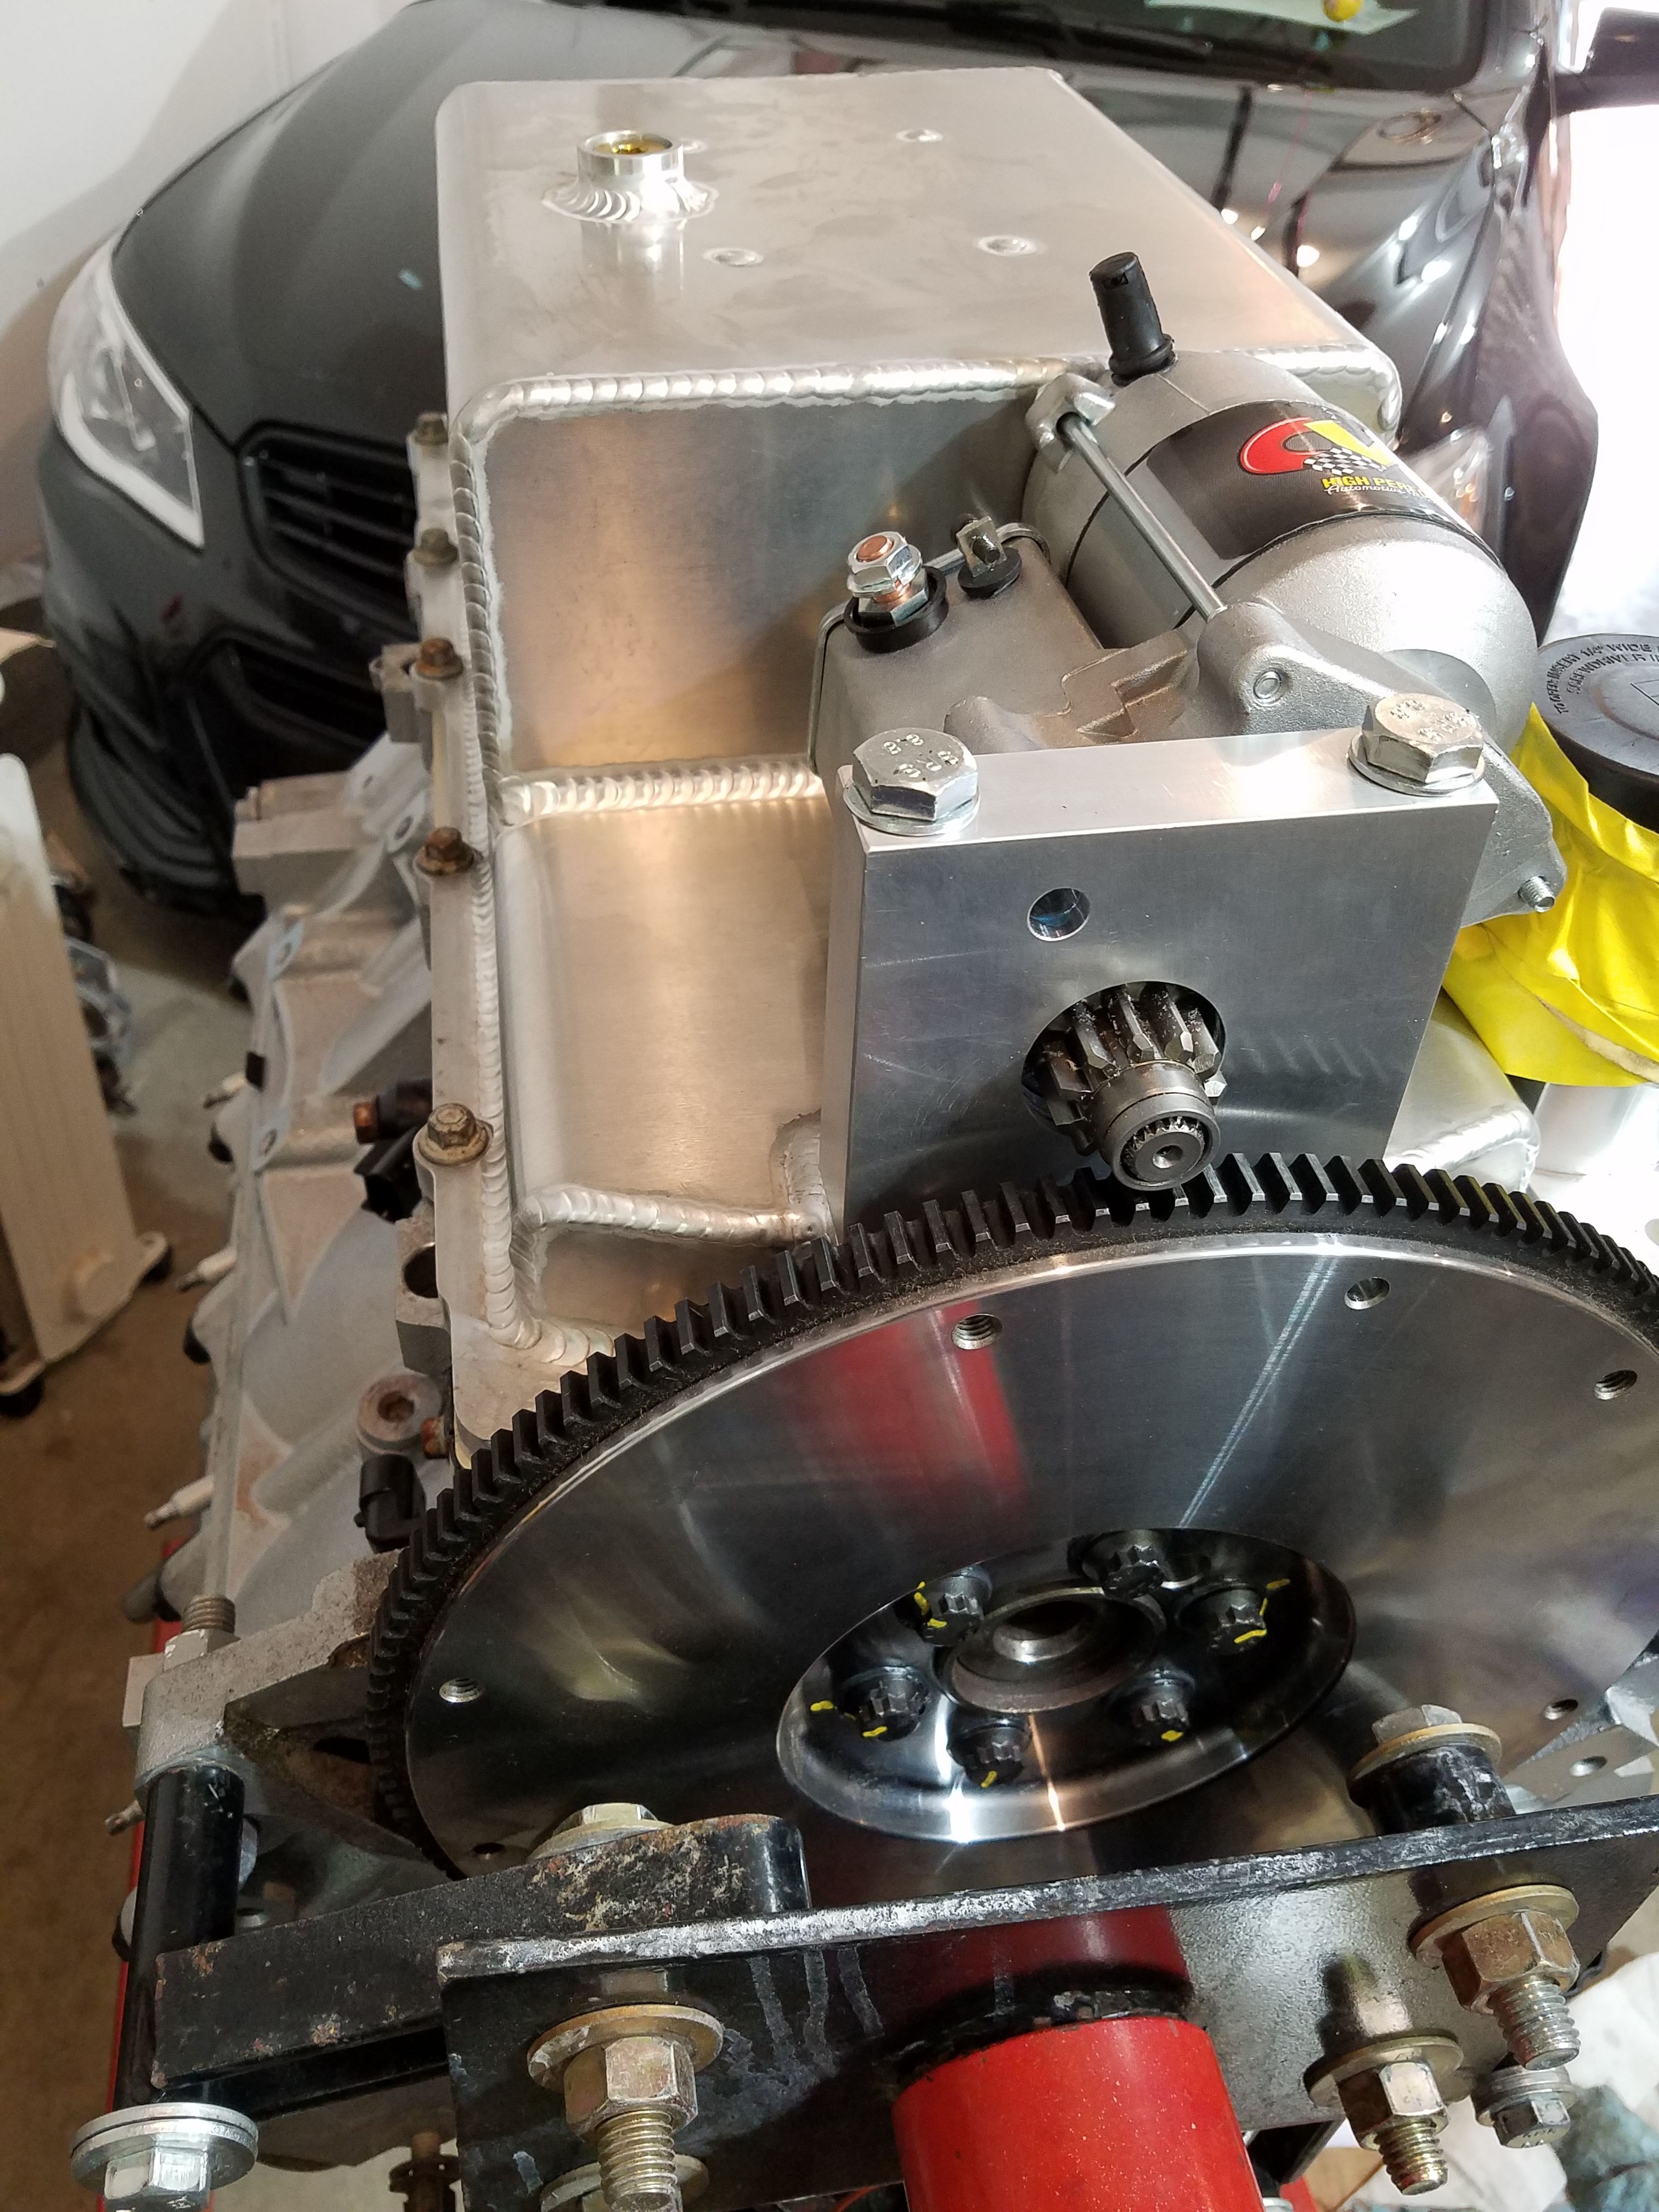
And it's in............. hopefully for the last time................for awhile... or at least until it runs. The cradle is bolted solidly to the car at this point, and the motor mounts are loosely attached (gotta get more bolts and nuts). Everything fits so far, so now its on to wiring and plumbing. I also did a little trimming on the PCM box to tuck it farther into the fenderwell. My goal was to keep it in the stock location, and I think it'll work.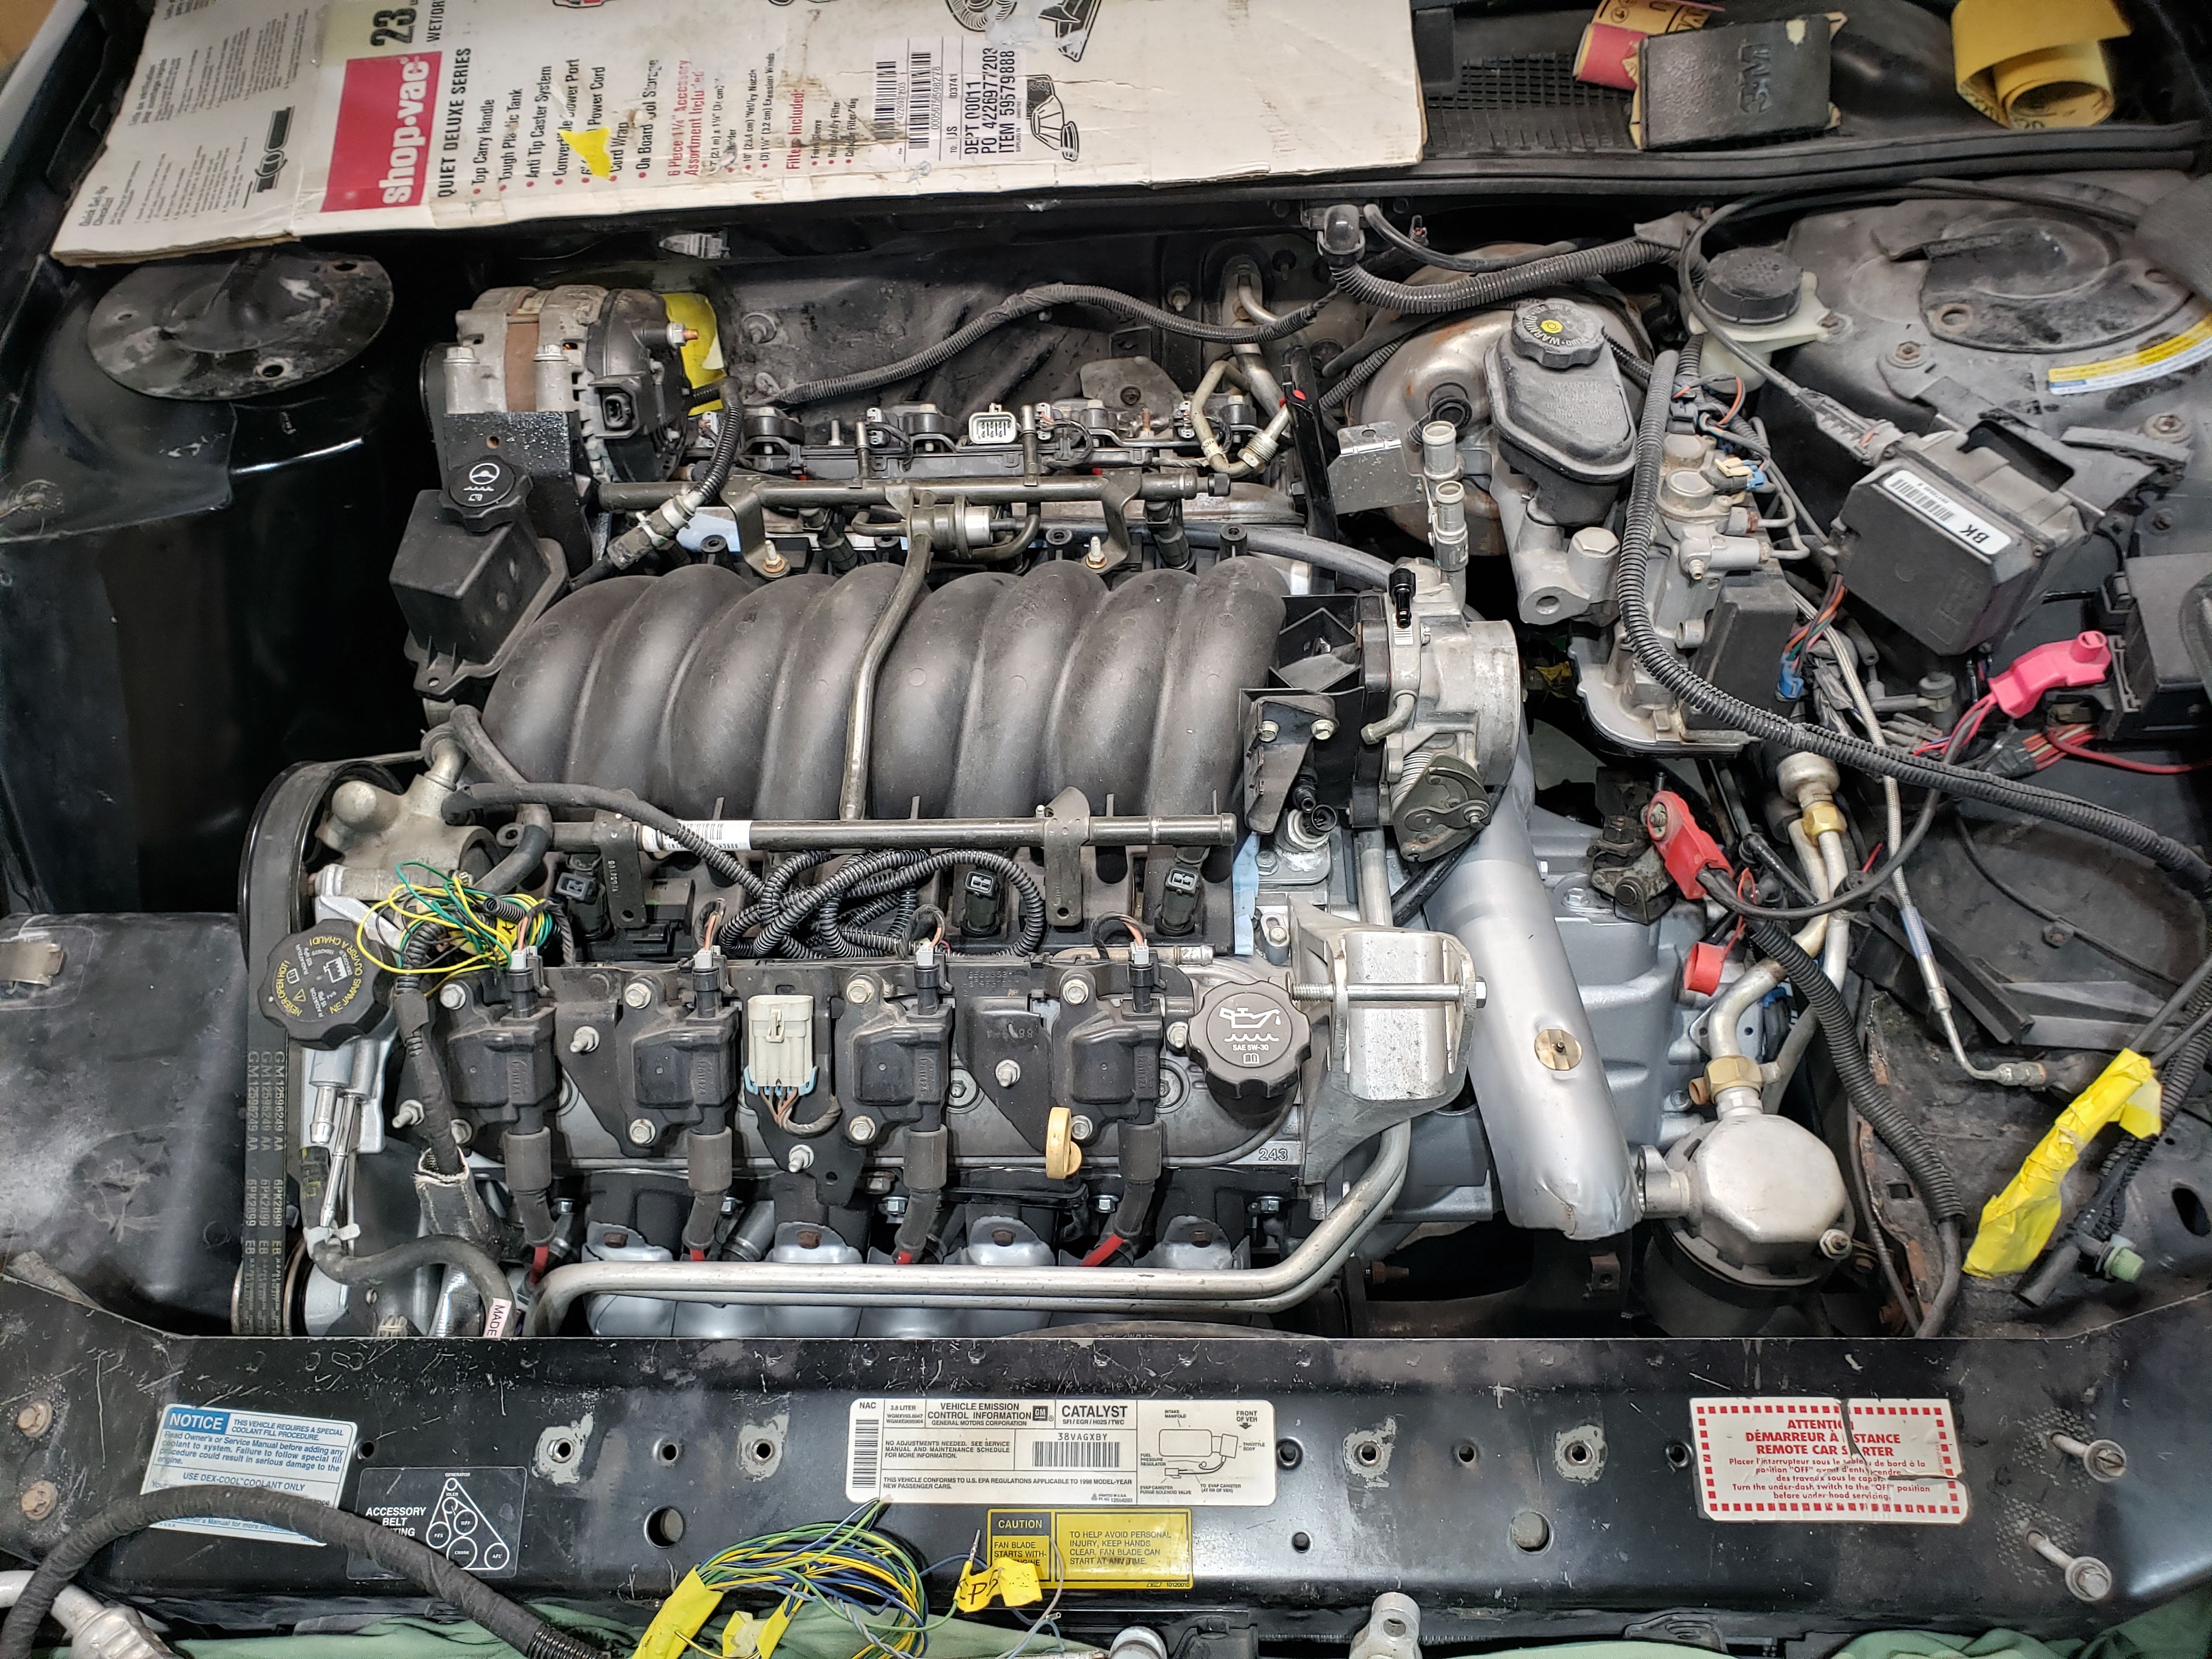
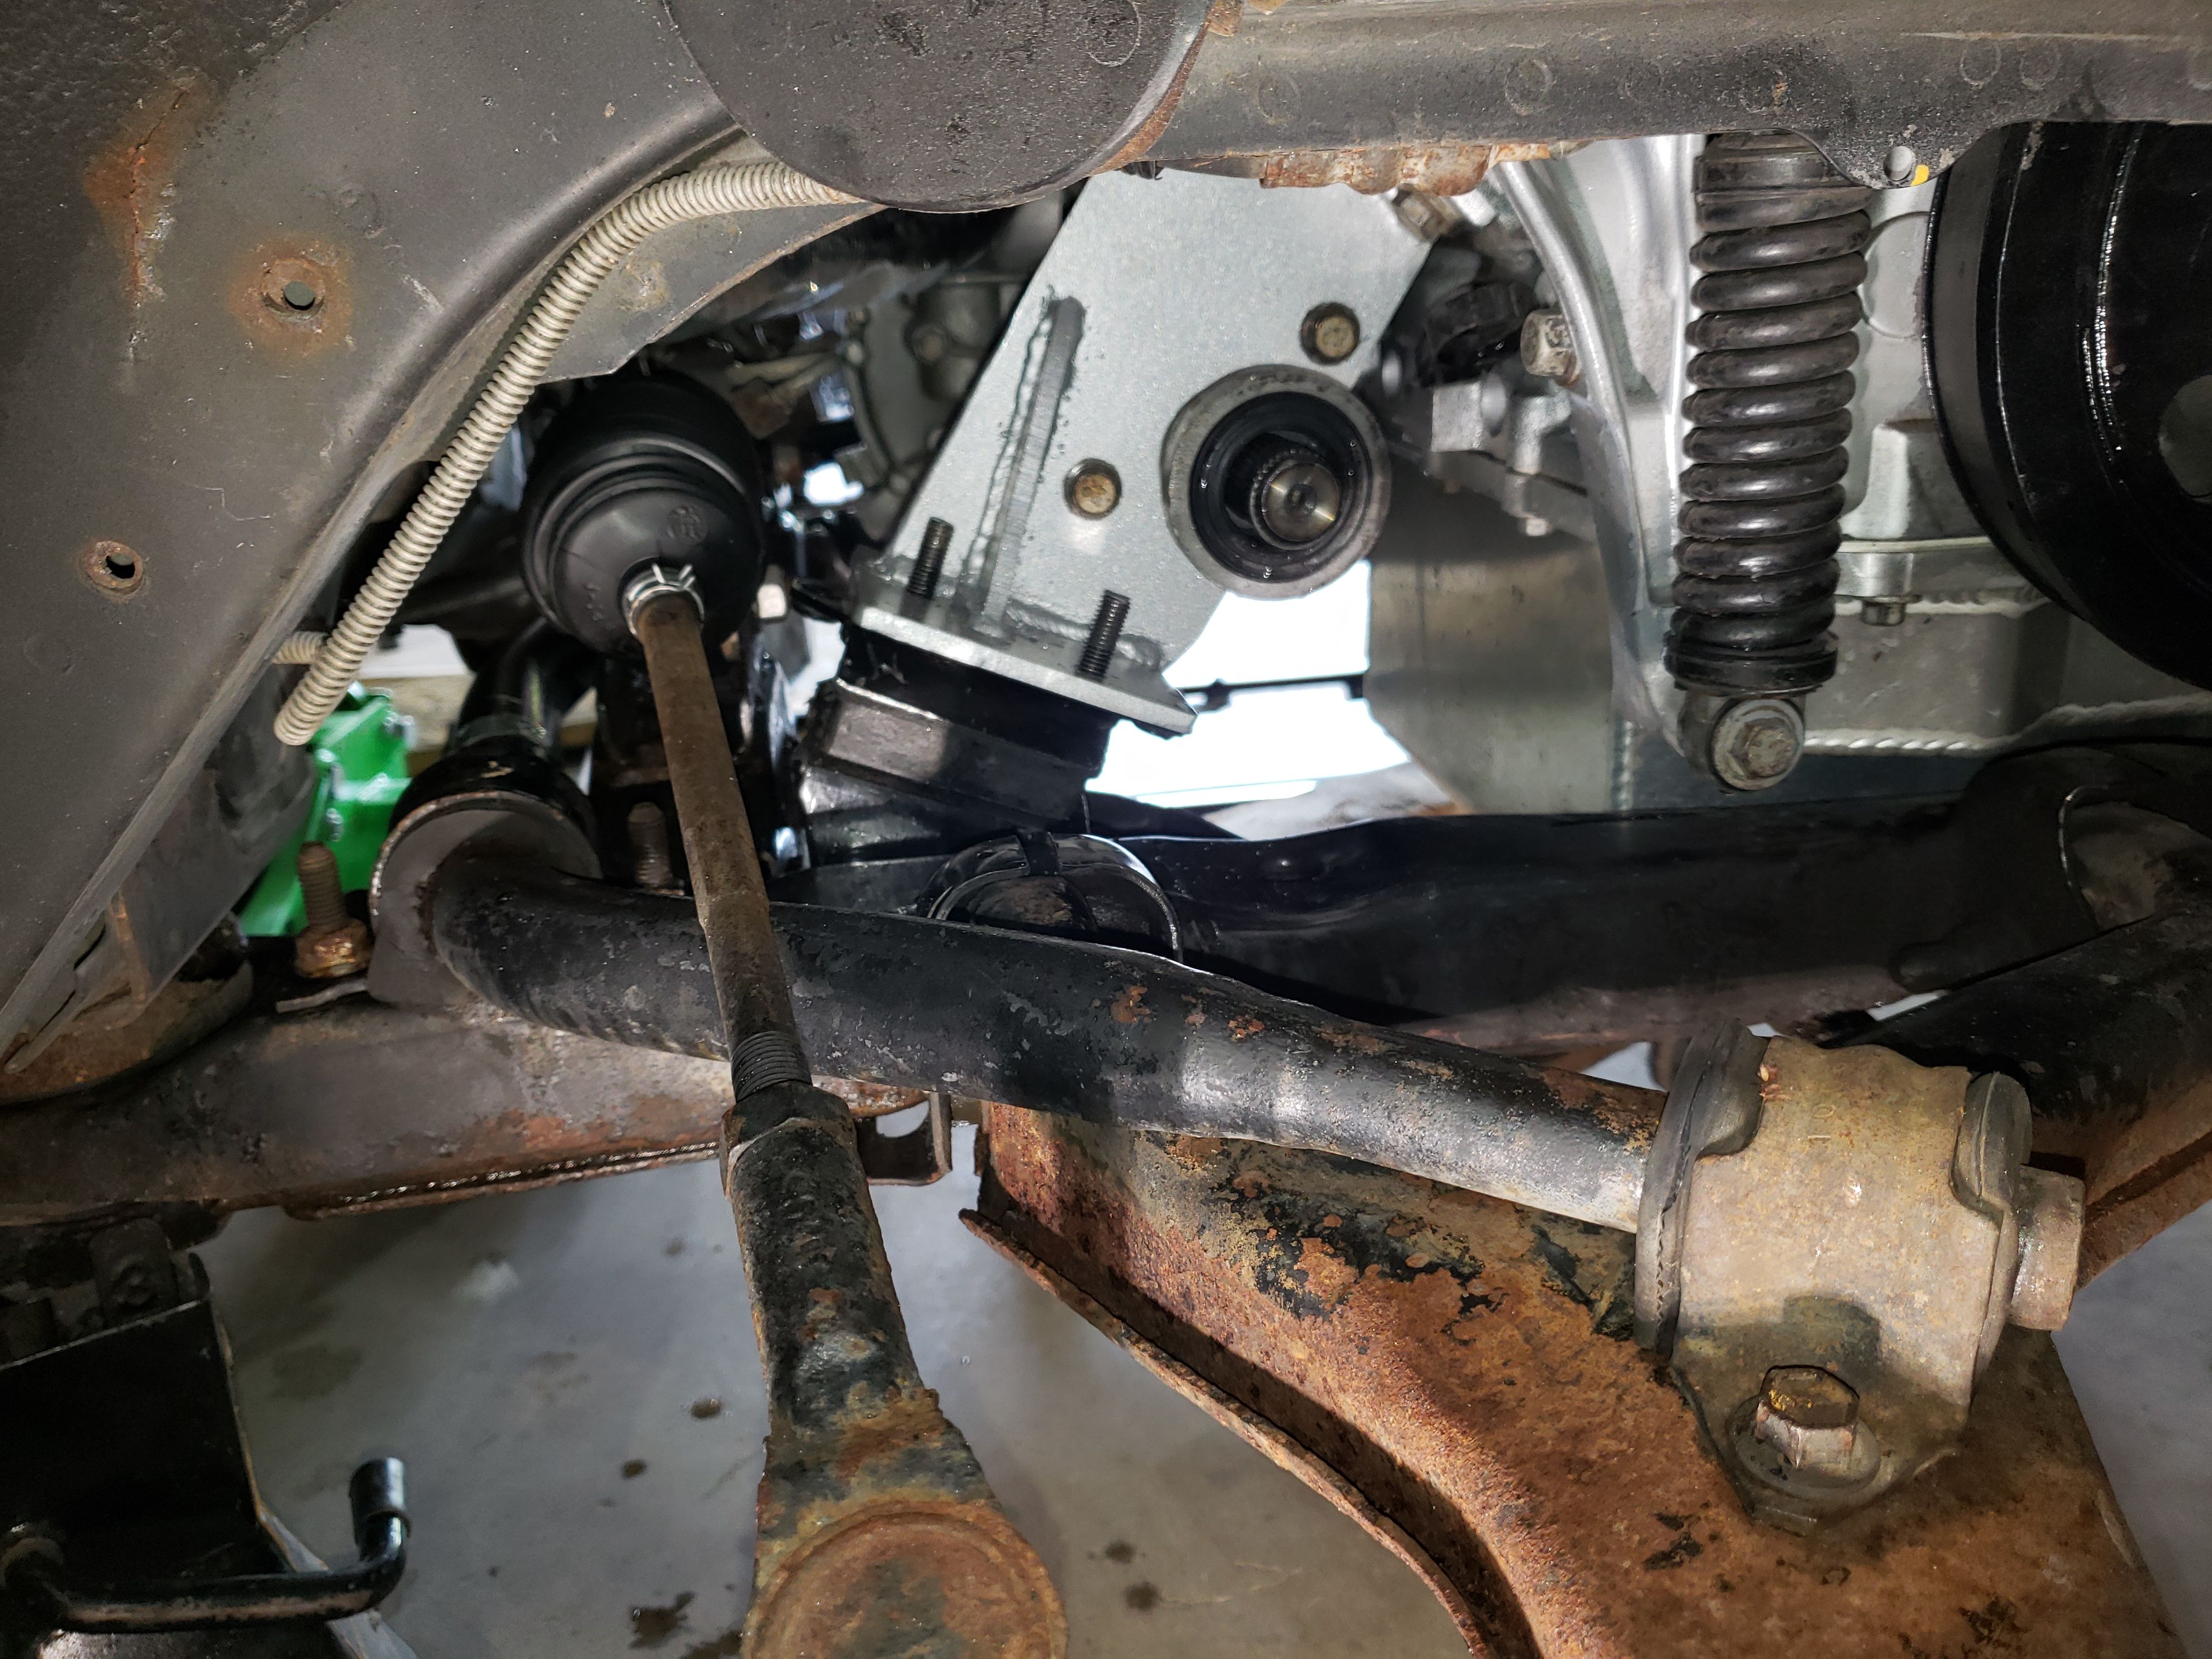
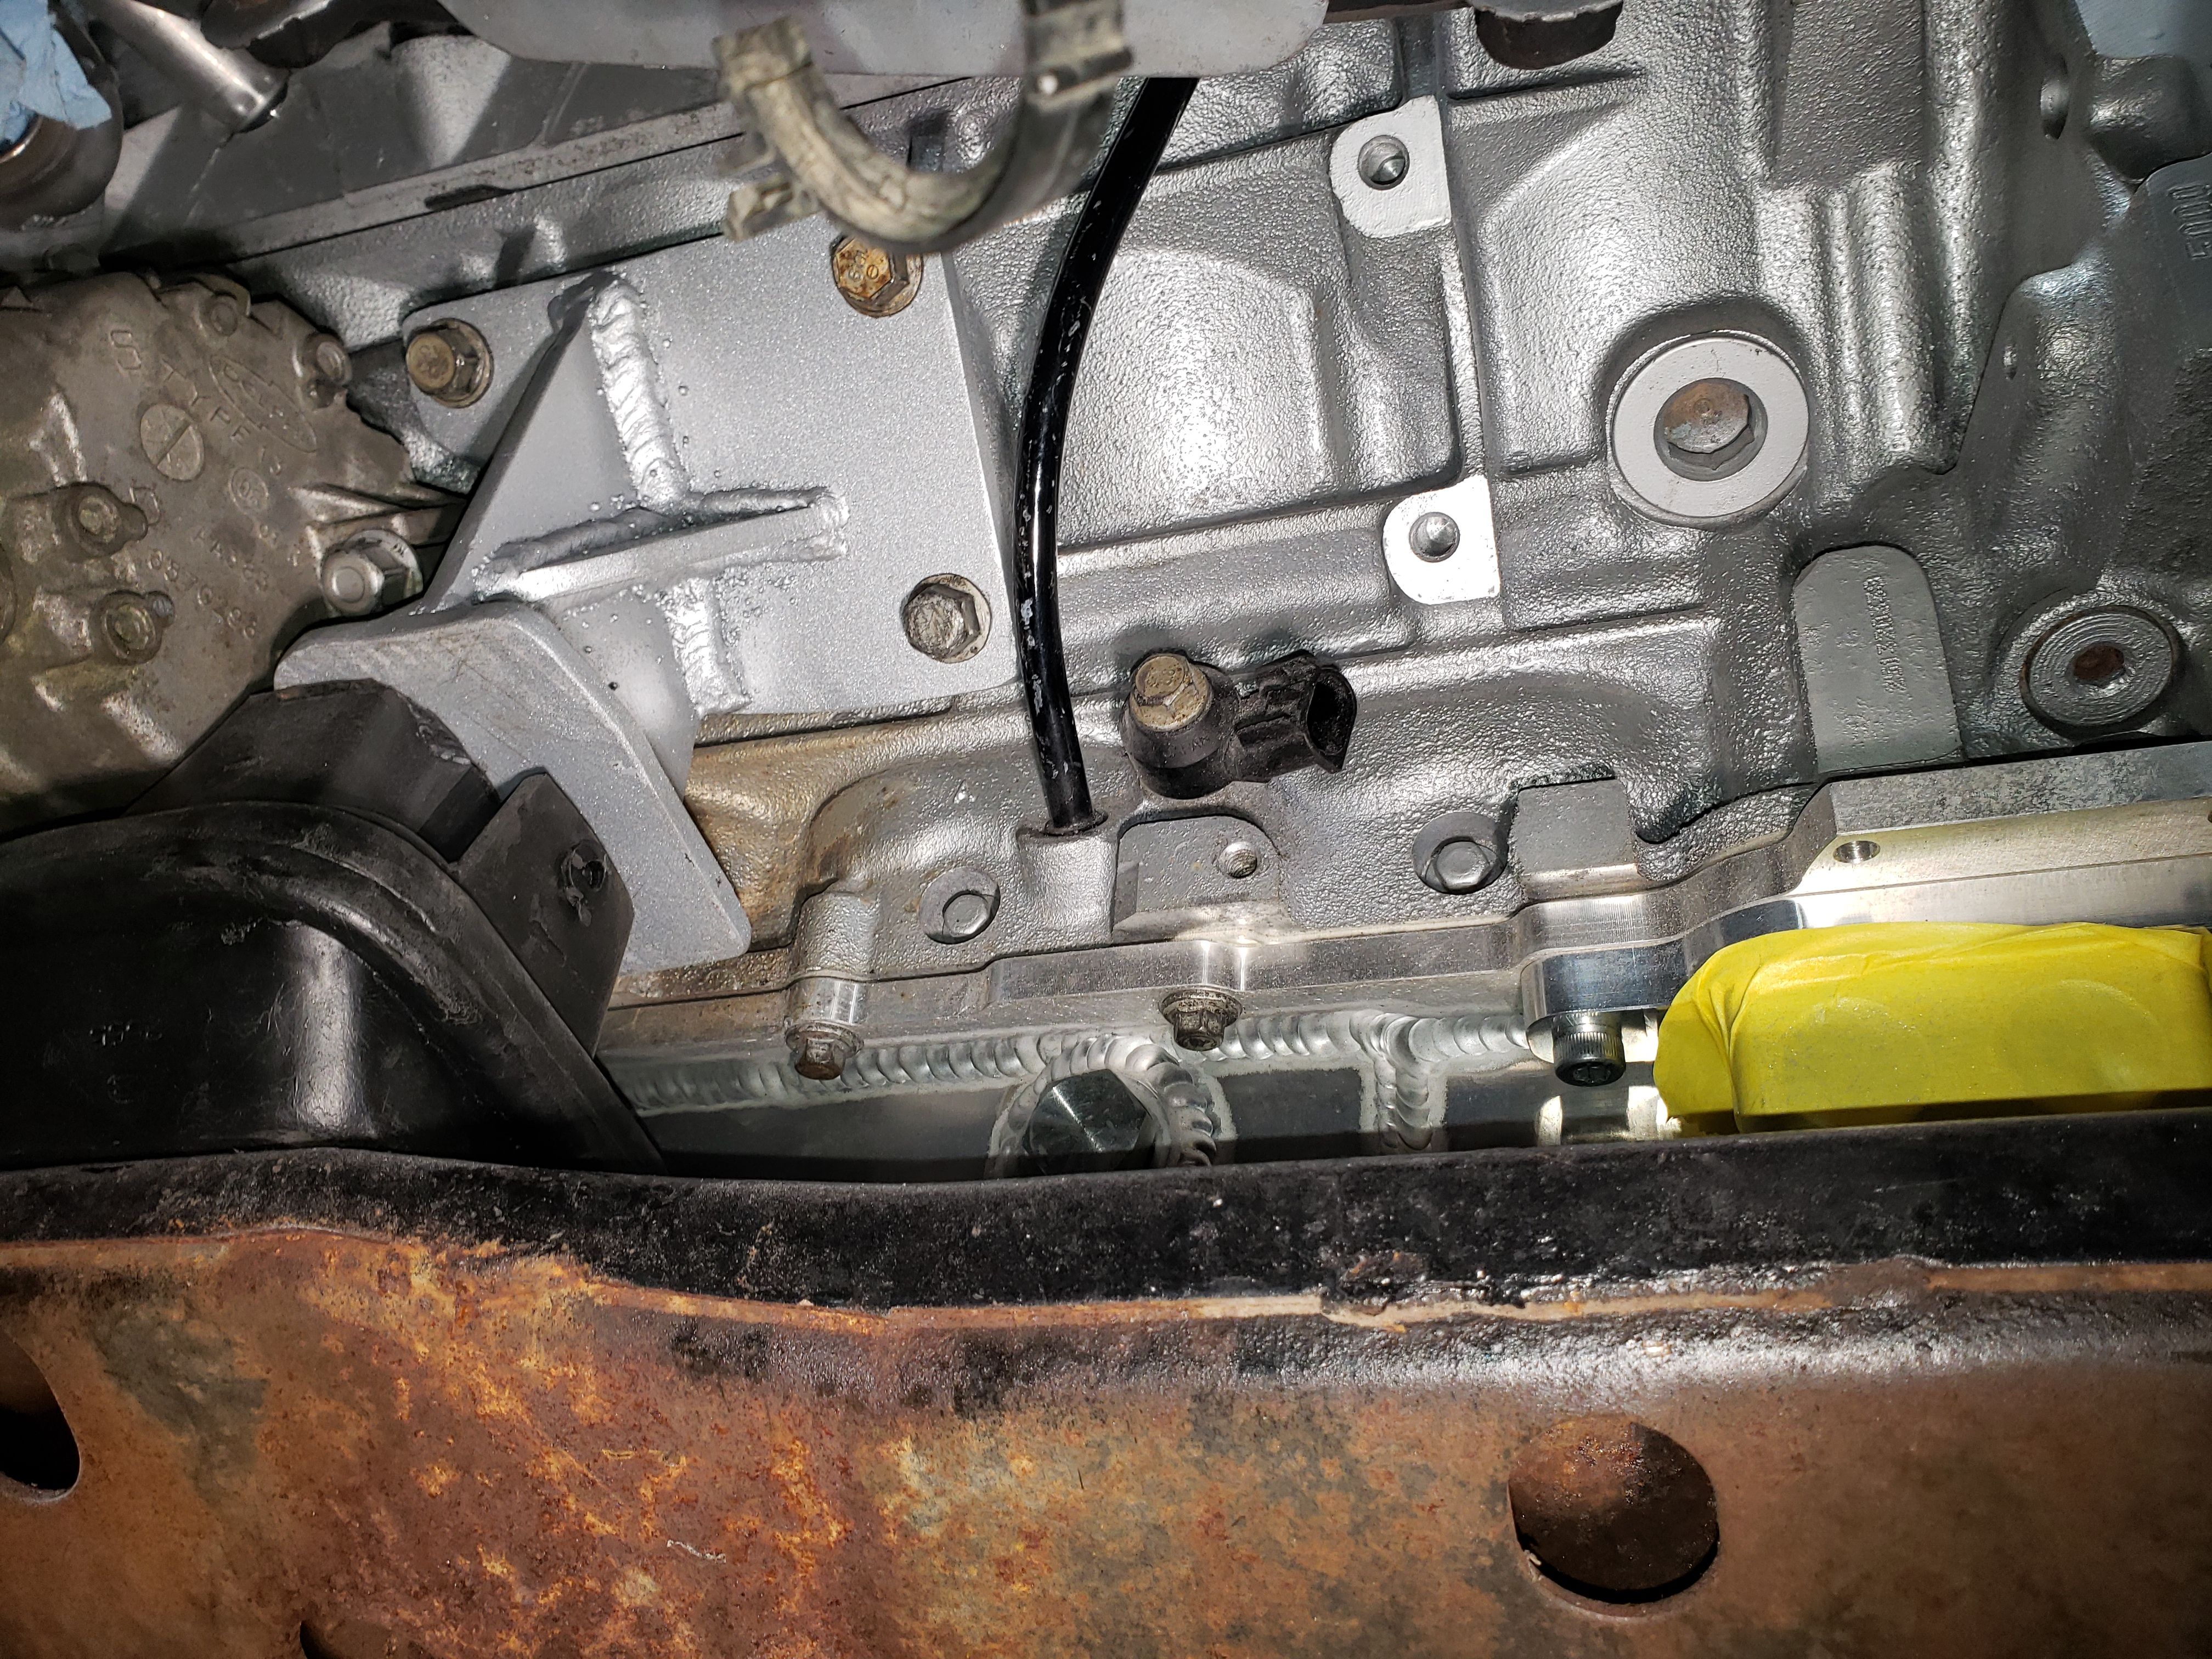 1 point
 -
LS4 swap begins
RPE1992GPSE reacted to carkhz316 for a topic
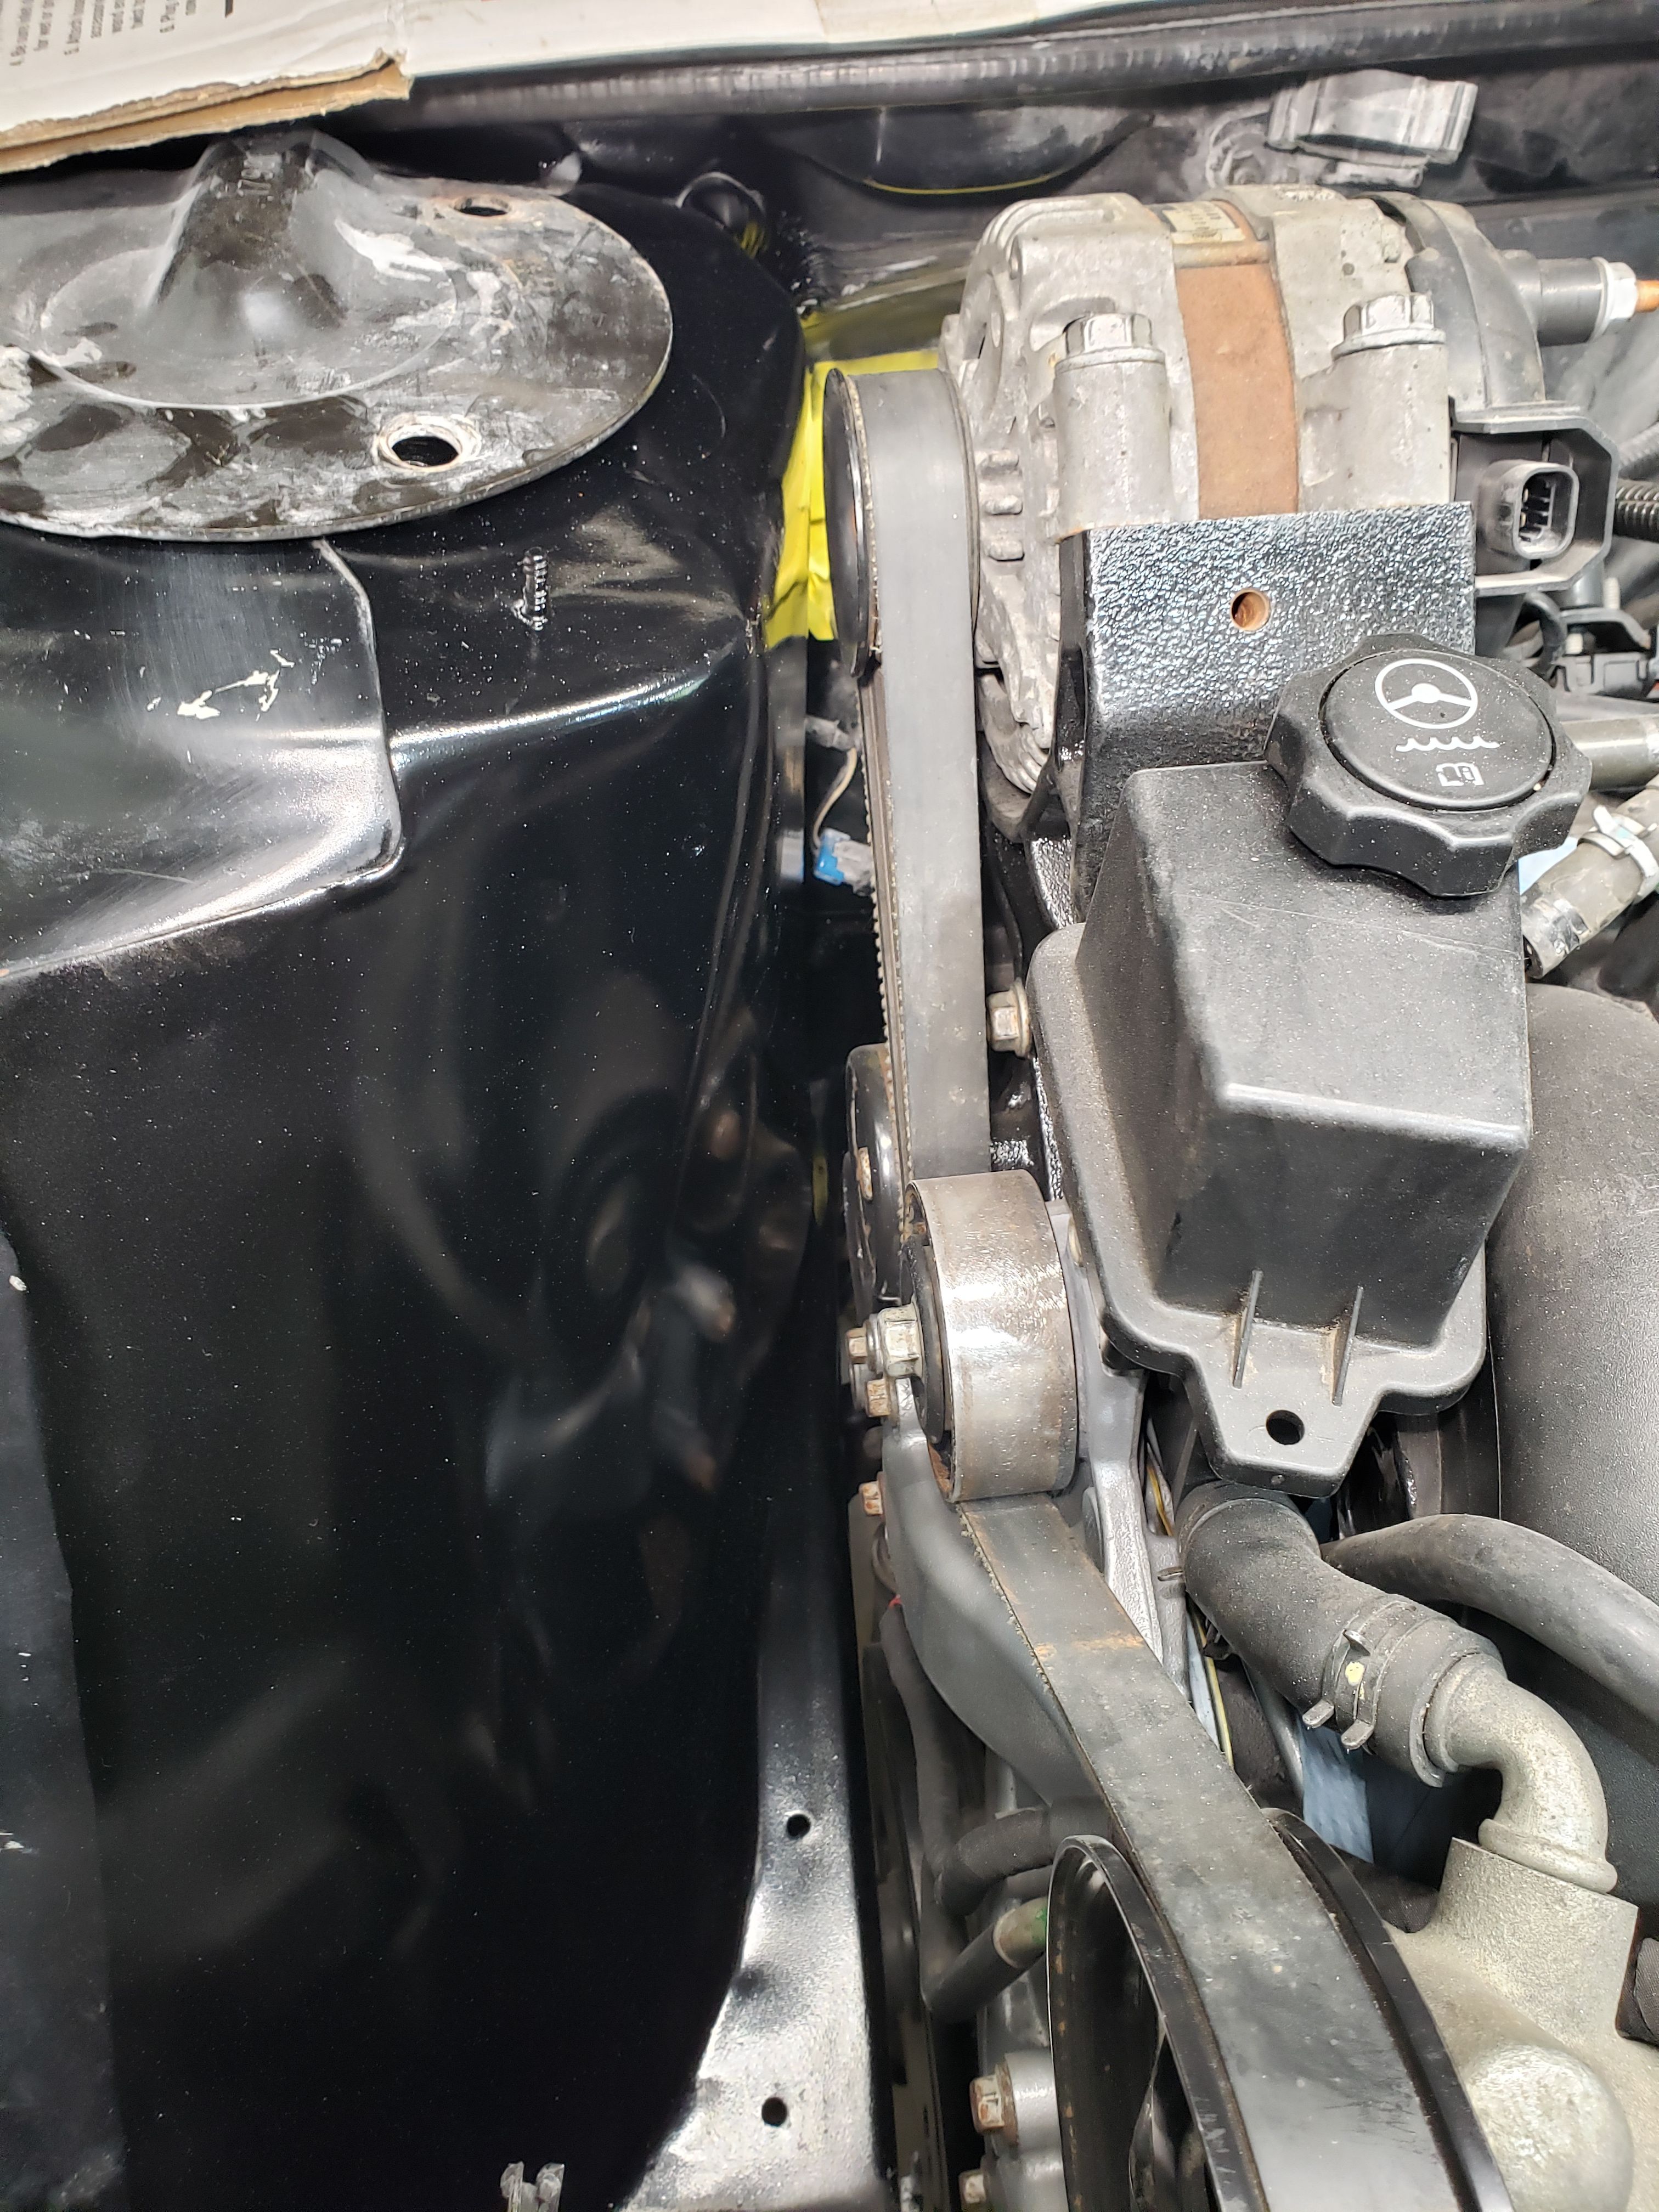
A grinder and paint make the welder I ain't. I could have done better, but my cheap Hobart is clapped out and well, I'm not a fabricator. Also, I did some rattle bomb to touch up the transmission as well, in addition to some black paint on the underhood to clean up the strut tower. I'm going to be hopefully nestling the engine back in the engine bay for the last time this week so I can continue on plumbing and wiring. I did find that I can just crimp new fittings on AC lines as the hydraulic hose maker at the local parts store can do AC line crimps (basically same operation). I just need to get the appropriate fittings is all. But if I can procure some, then I I can keep the AC system native to the Monte (easier in the long term, in my opinion) and only have to be concerned with the suction/ discharge hose assembly being custom.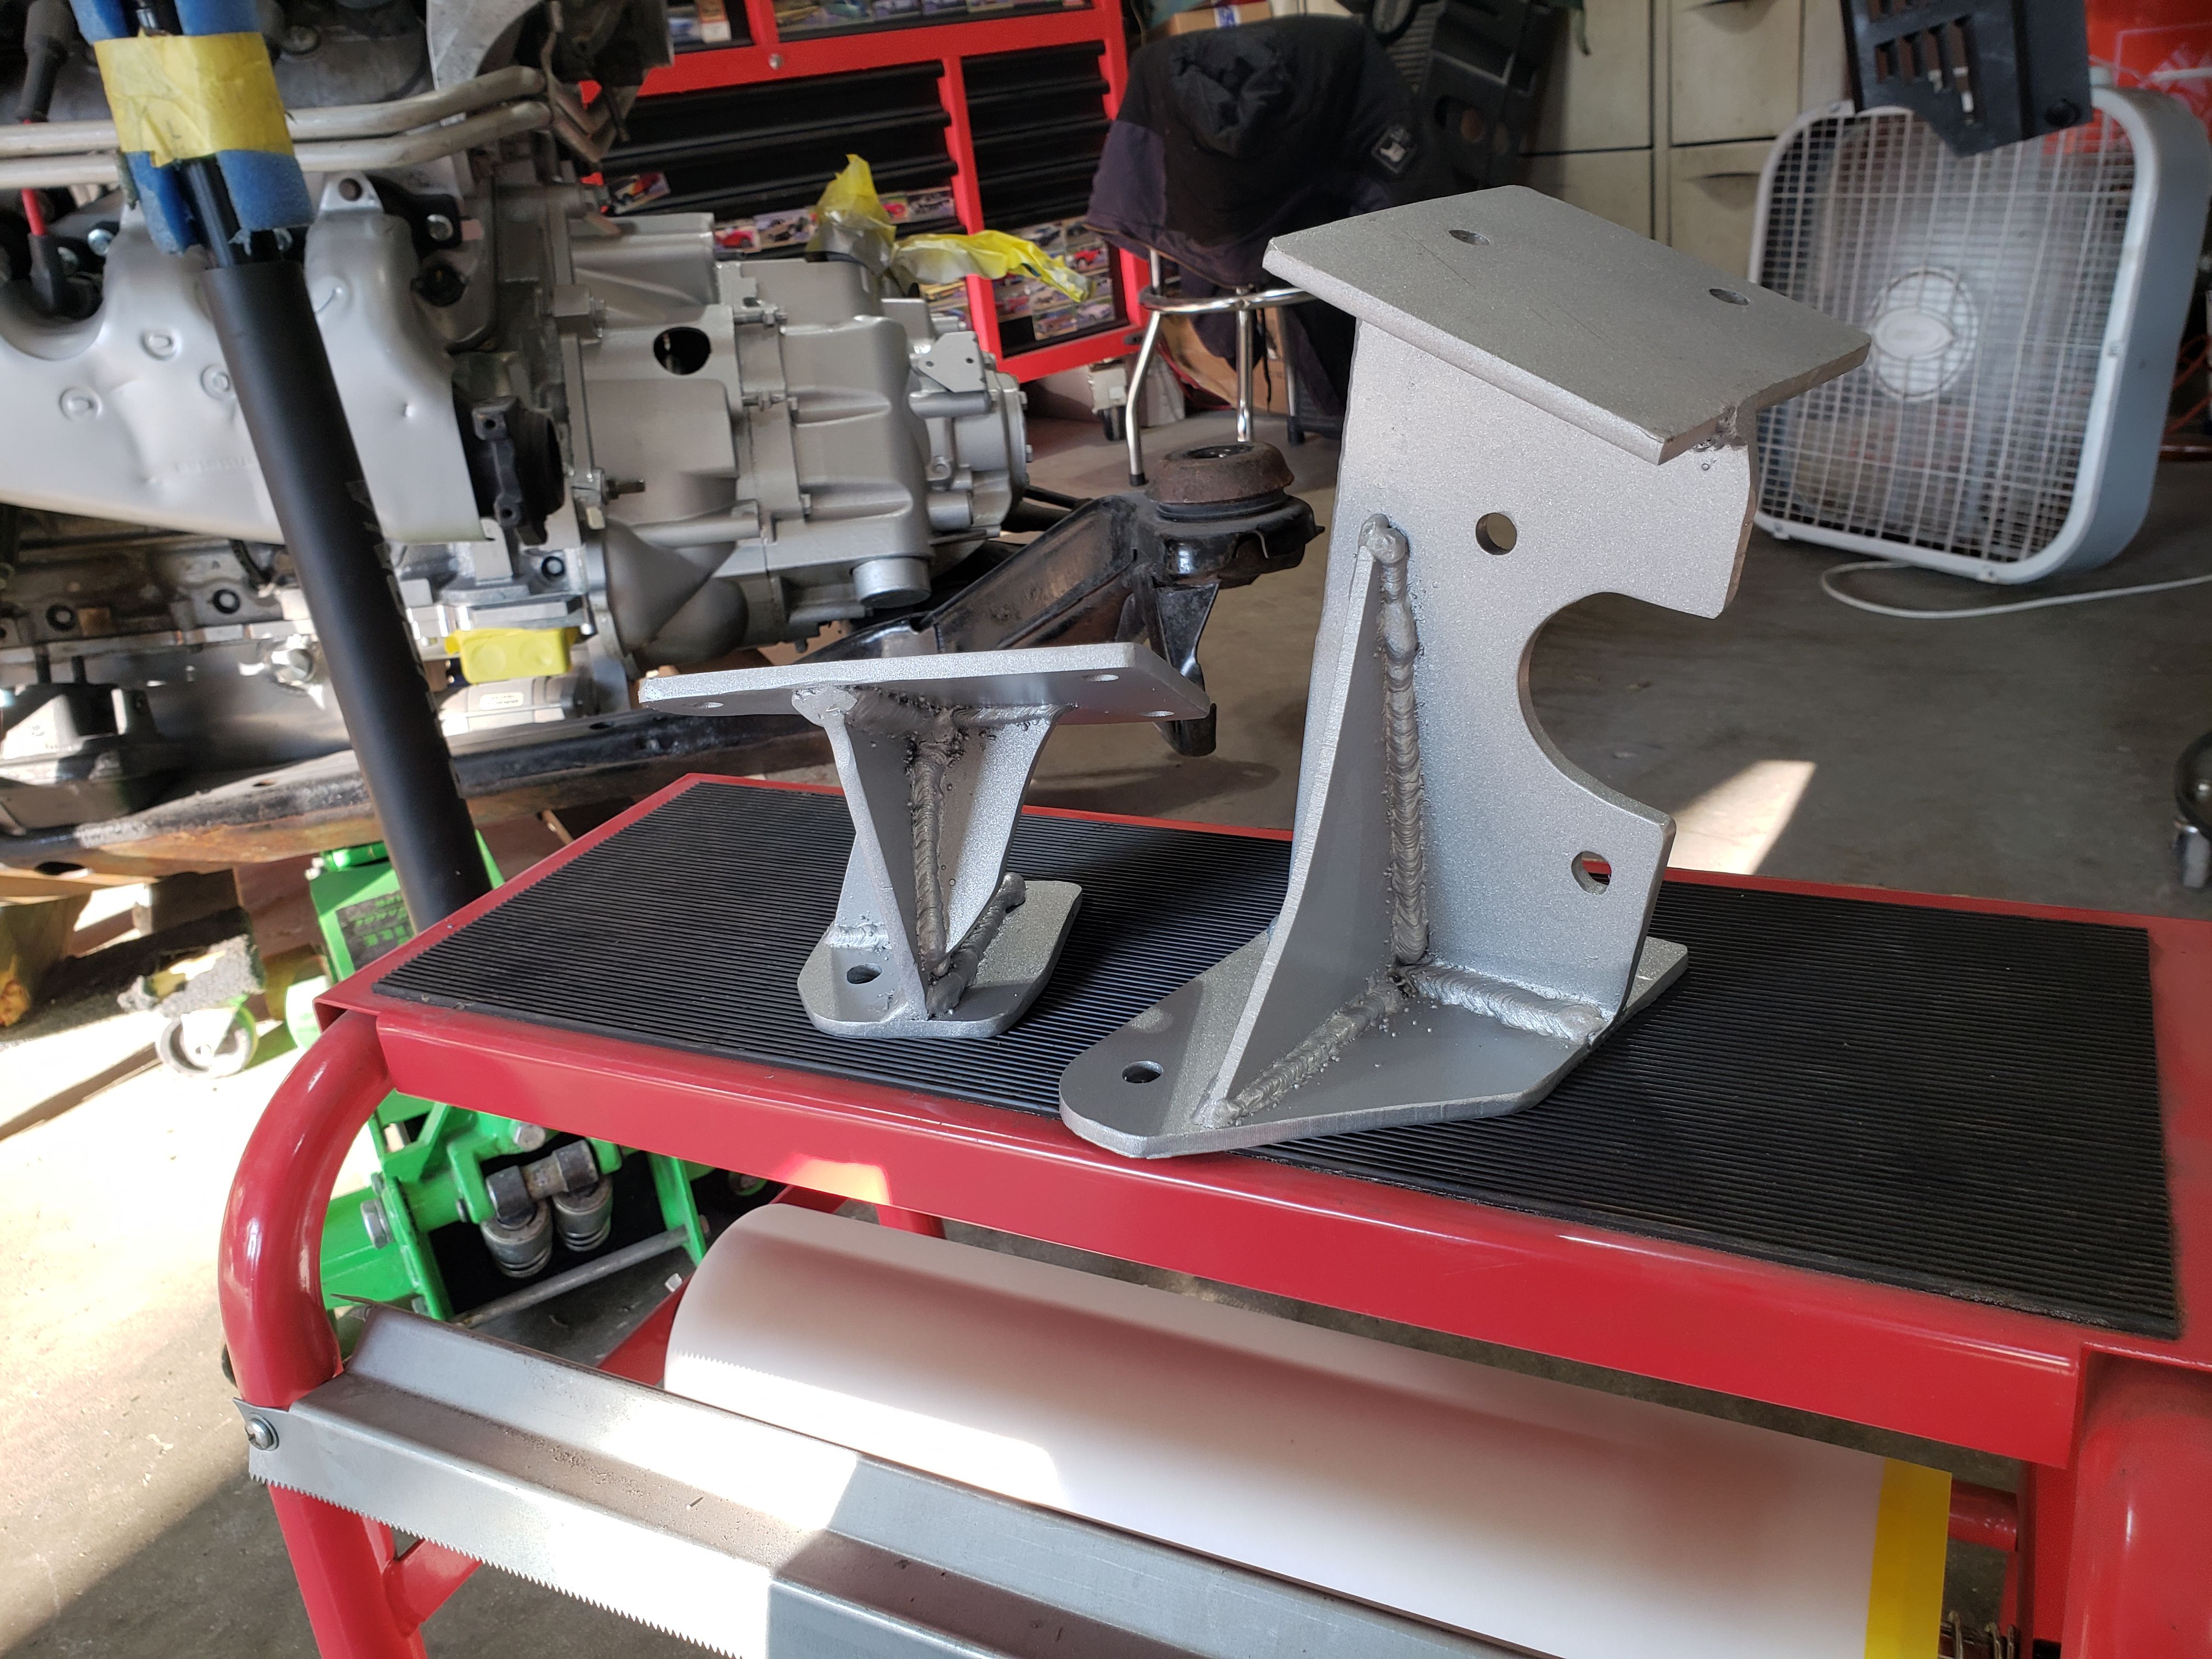 1 point
 -
LS4 swap begins
Megavolt-380 reacted to carkhz316 for a topic
Sorry I haven't been back for awhile. I'm still making progress, slowly but surely. I was waiting on all my engine parts, and still waiting on the clutch kit, though I was informed as of 7-19, it was "shipped". We'll see. Anyway, The engine is mostly assembled. I completely tore down the engine harness to rebuild from scratch. I can't go much further as I'll be integrating it with the existing Z34 chassis/ engine bay harness. I wanted to get as far along as I could before filling my garage with another car.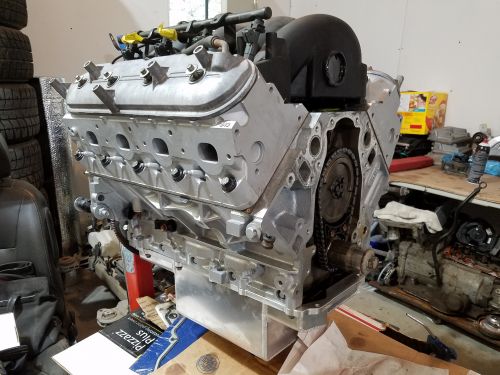
 1 point