Leaderboard
Popular Content
Showing content with the highest reputation since 01/22/2026 in all areas
-
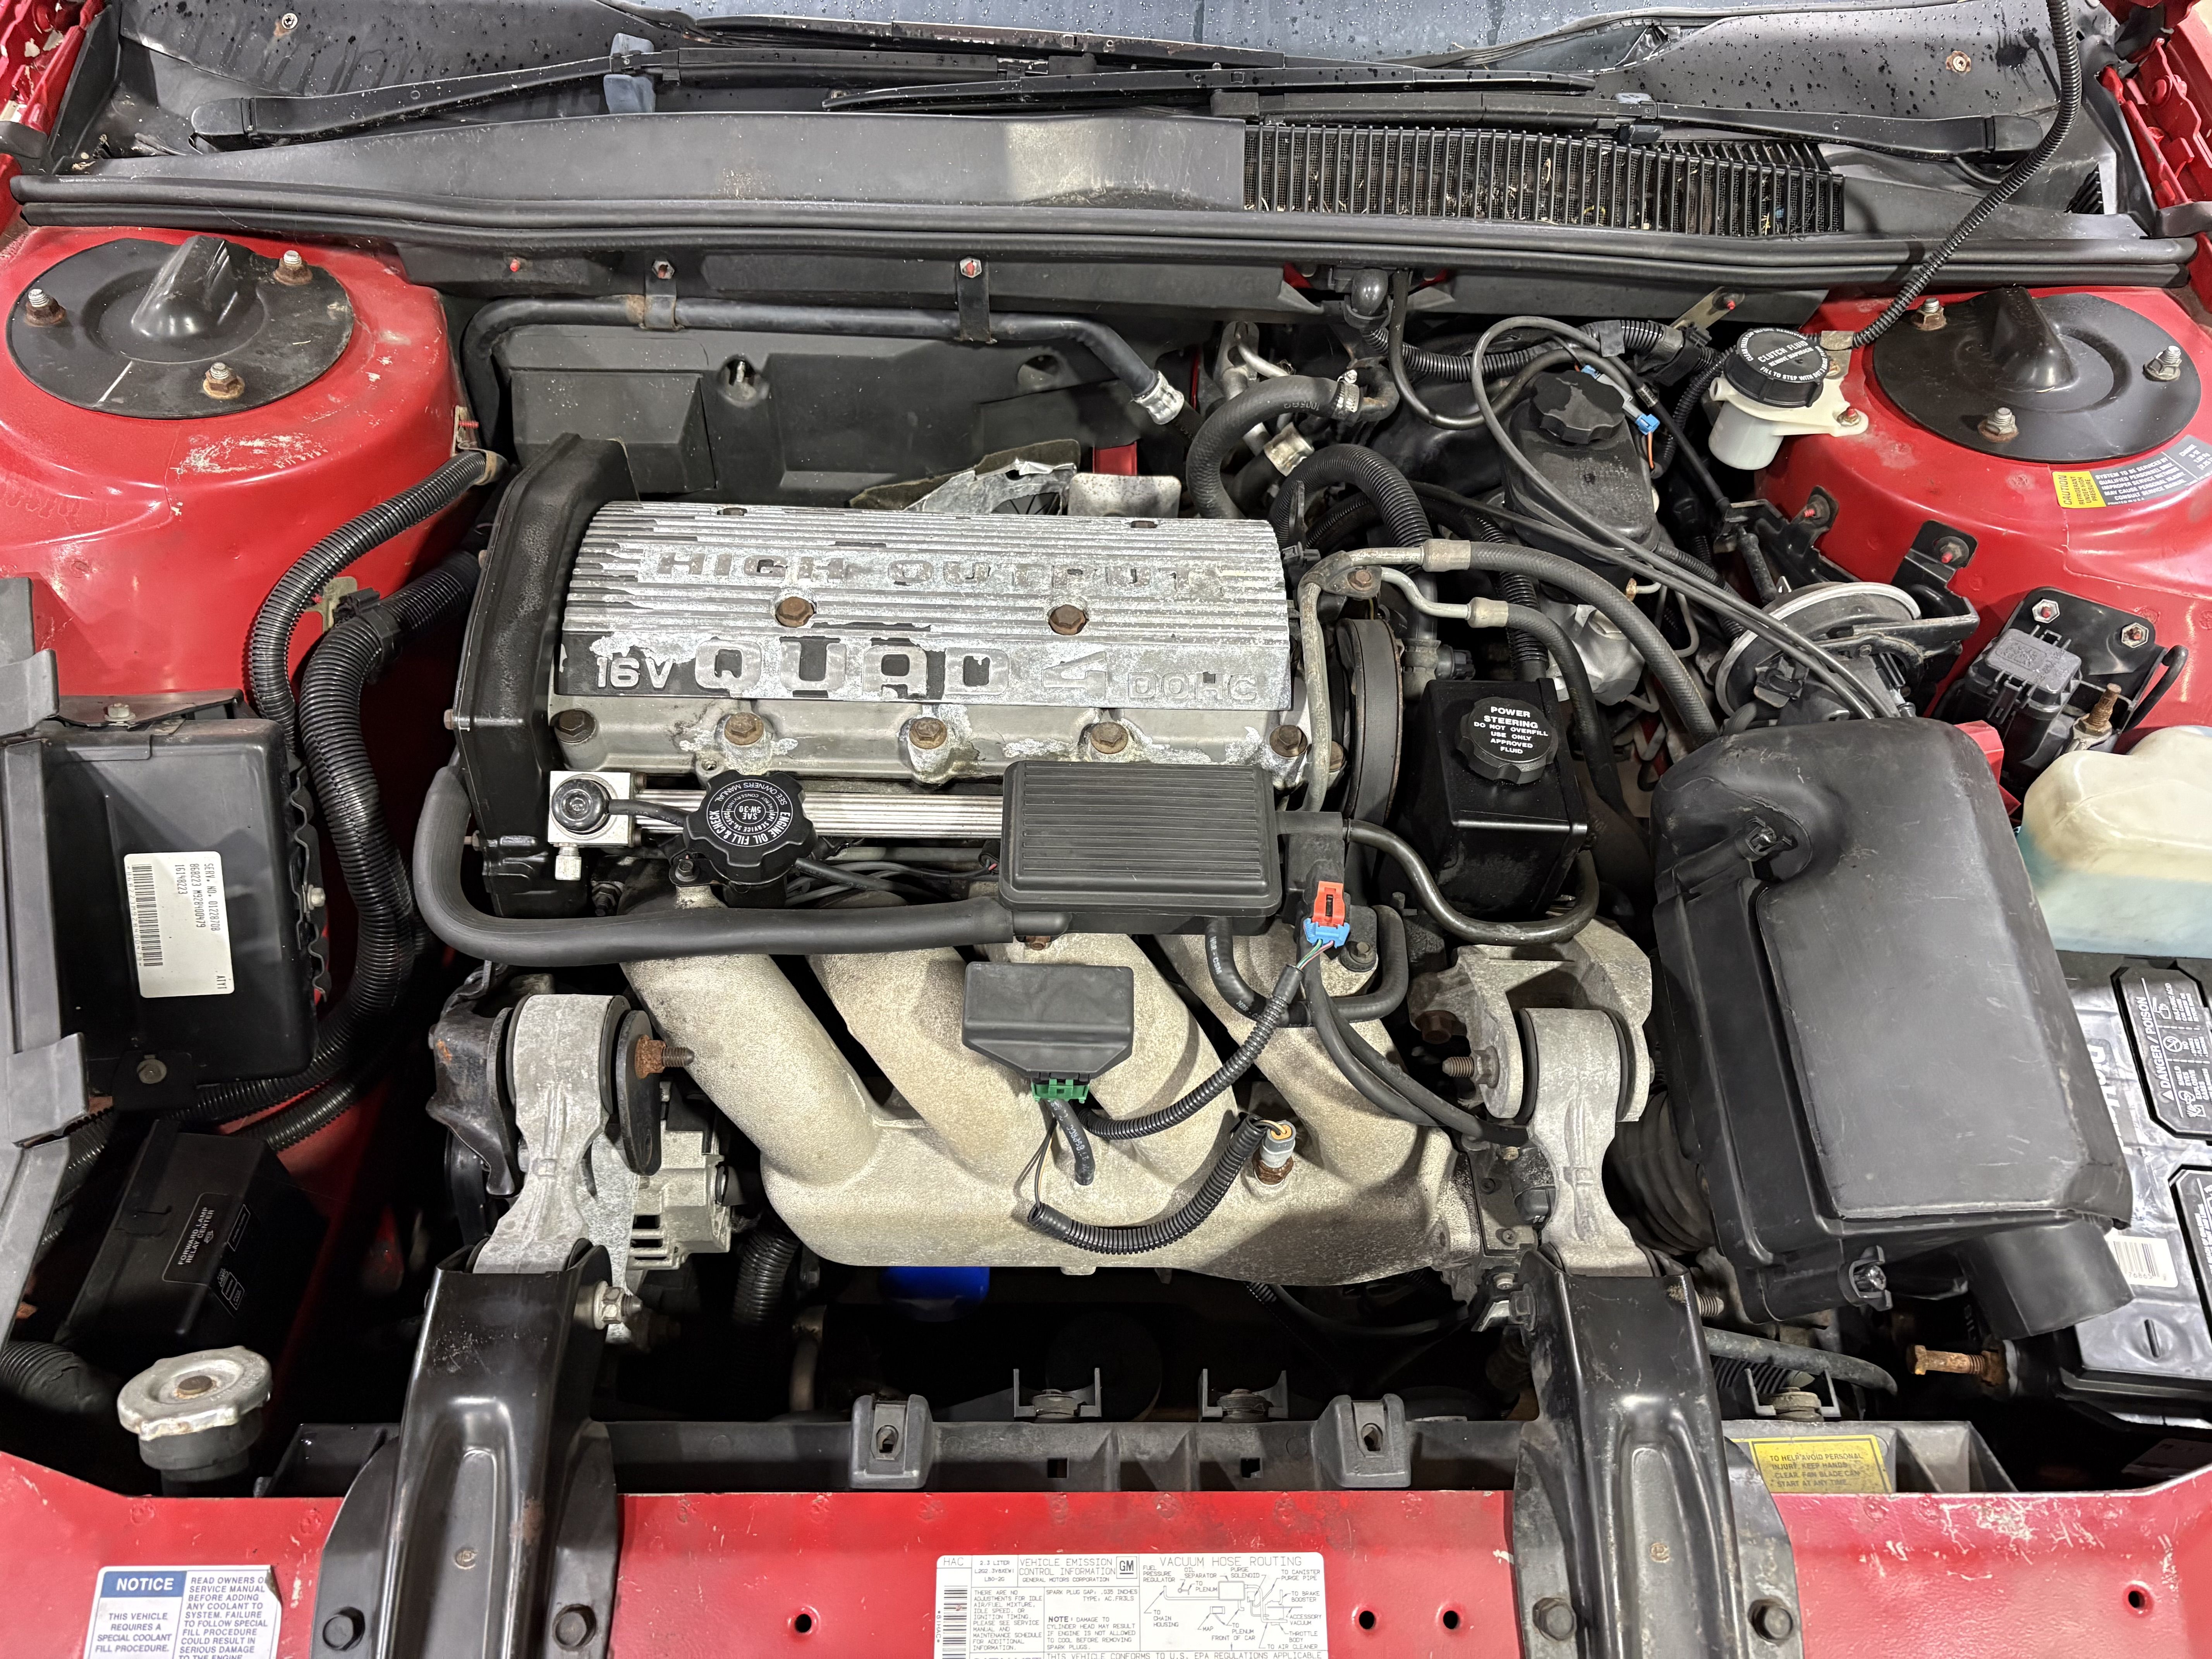
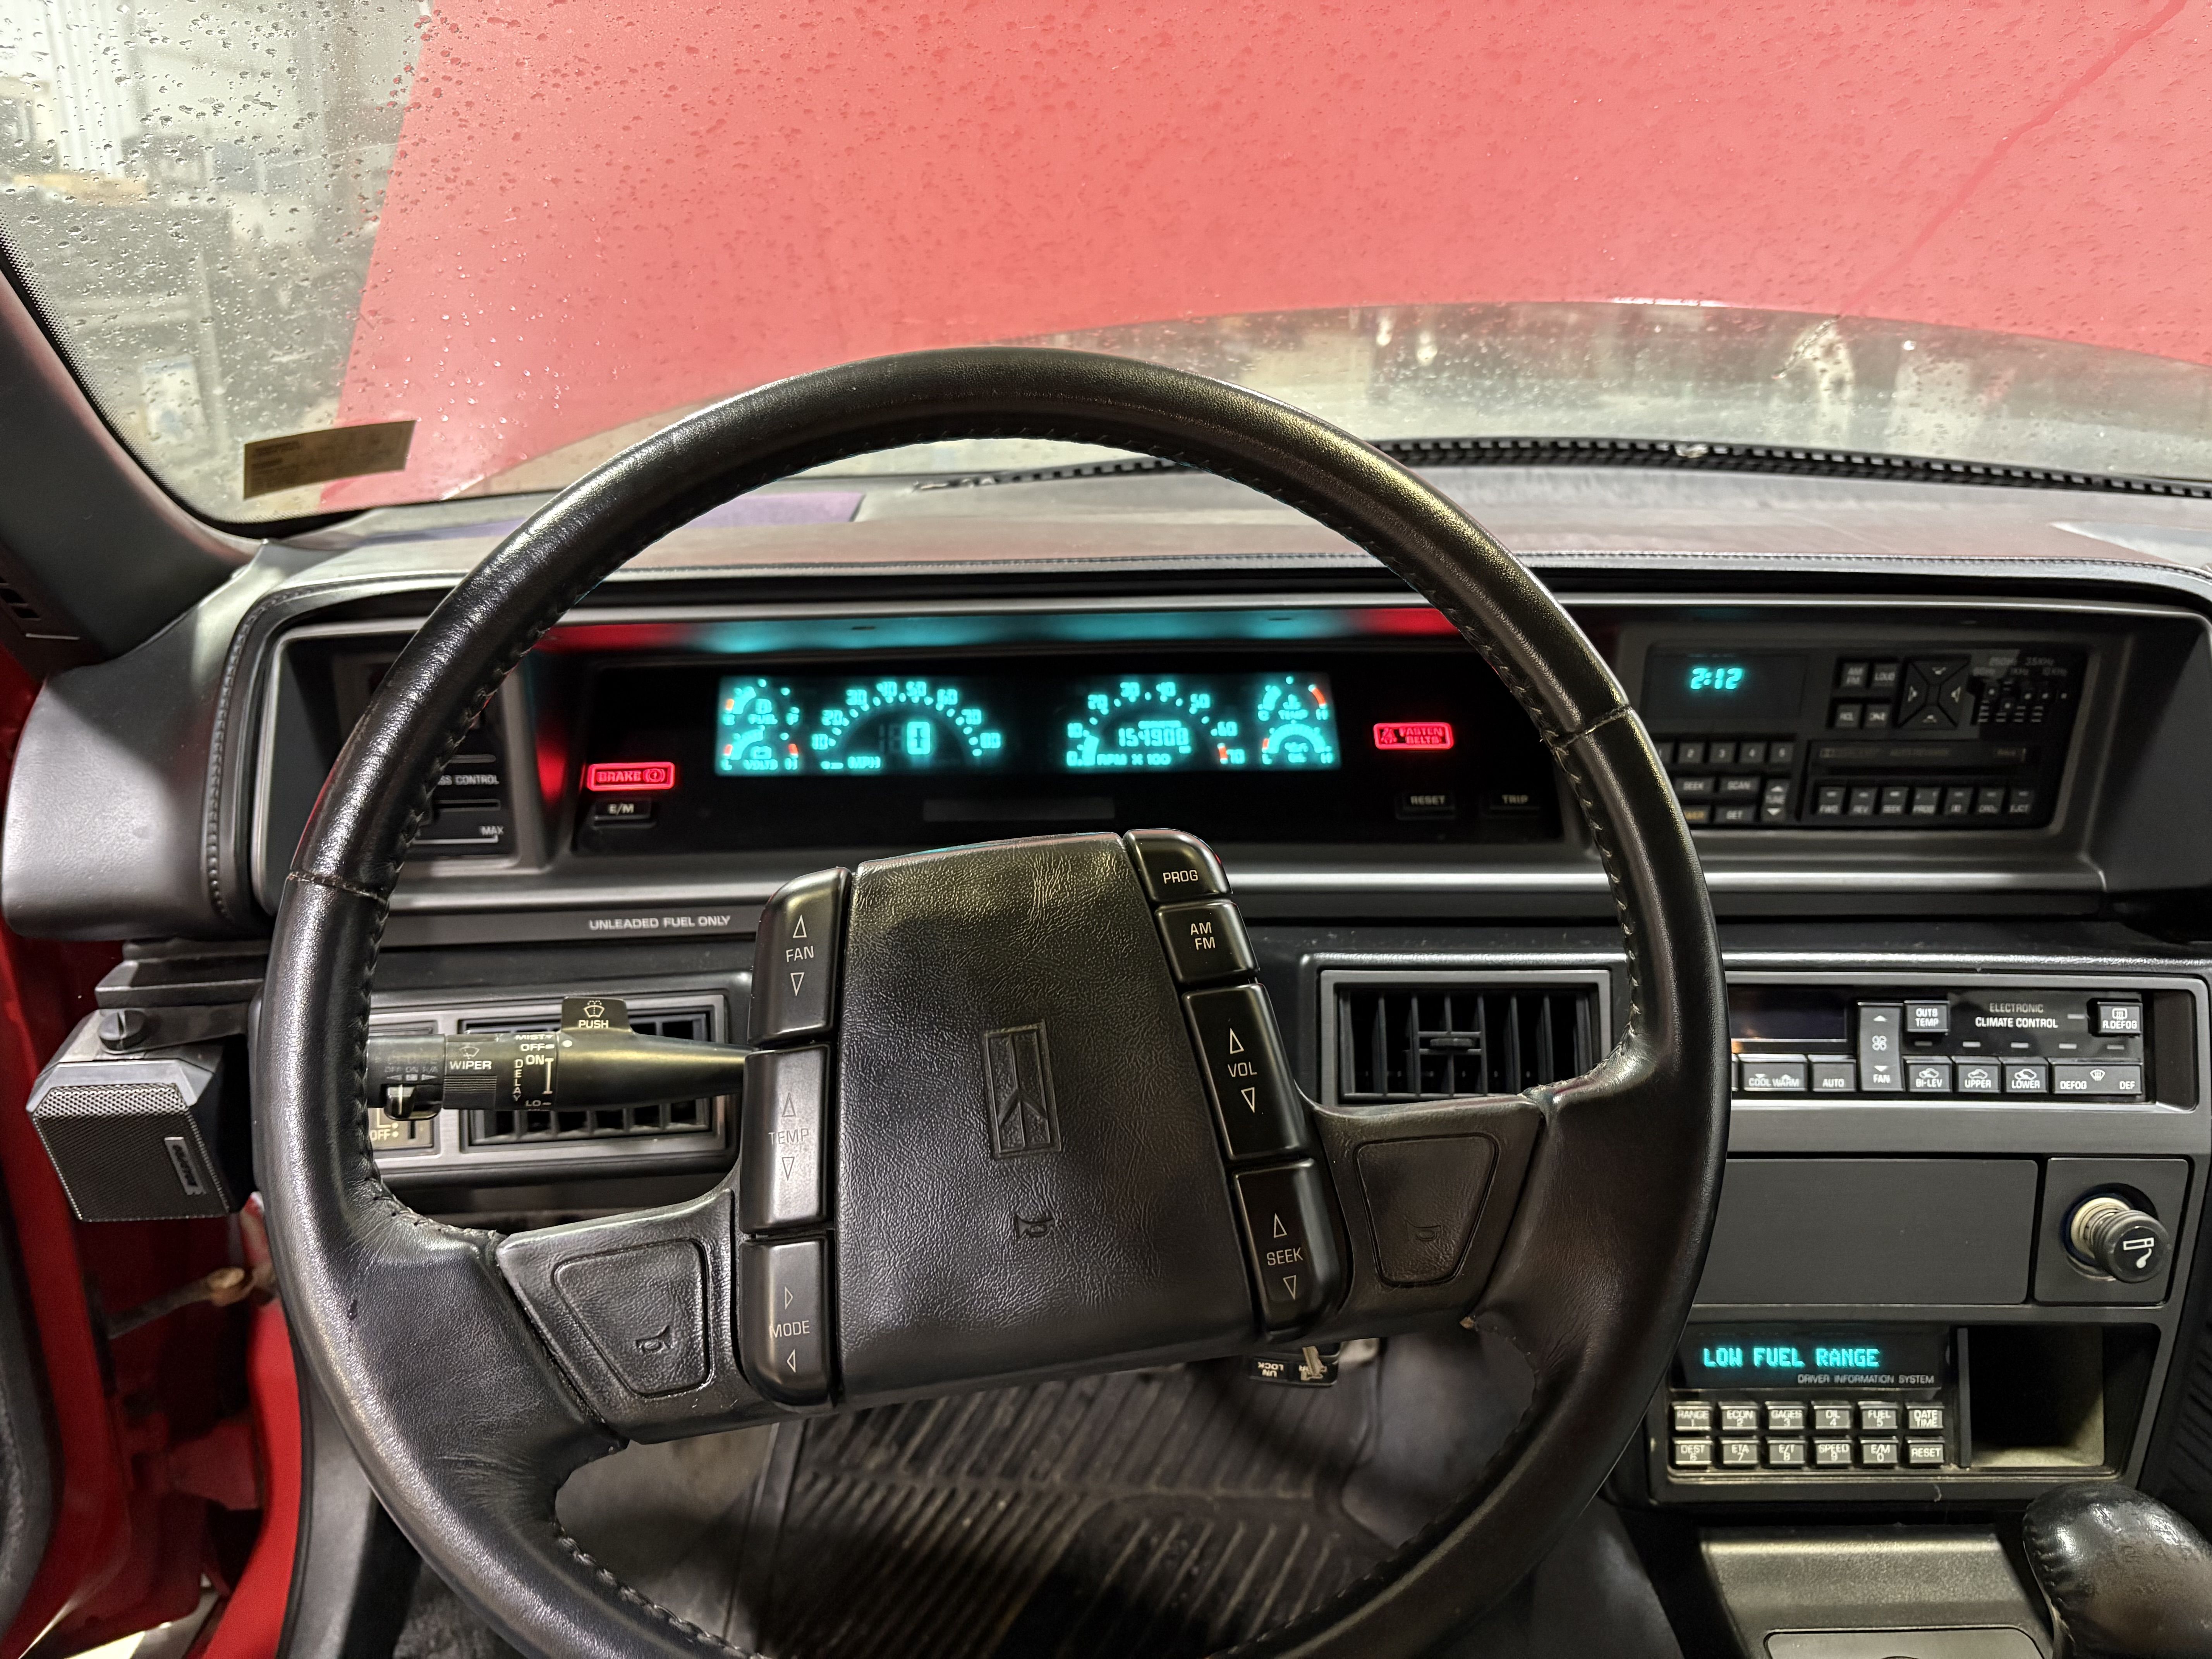
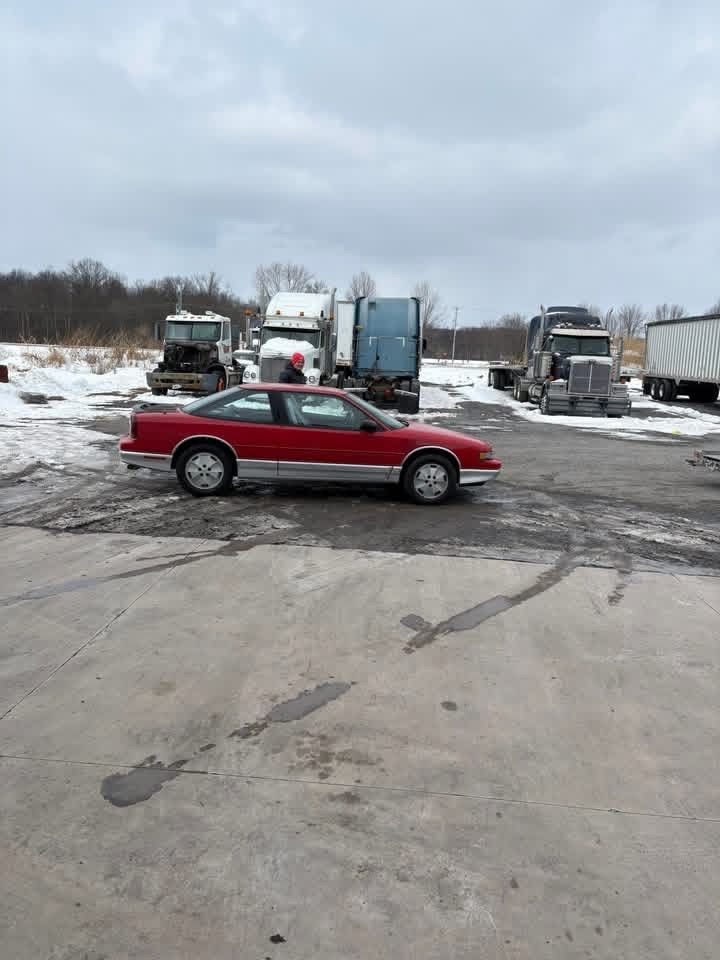
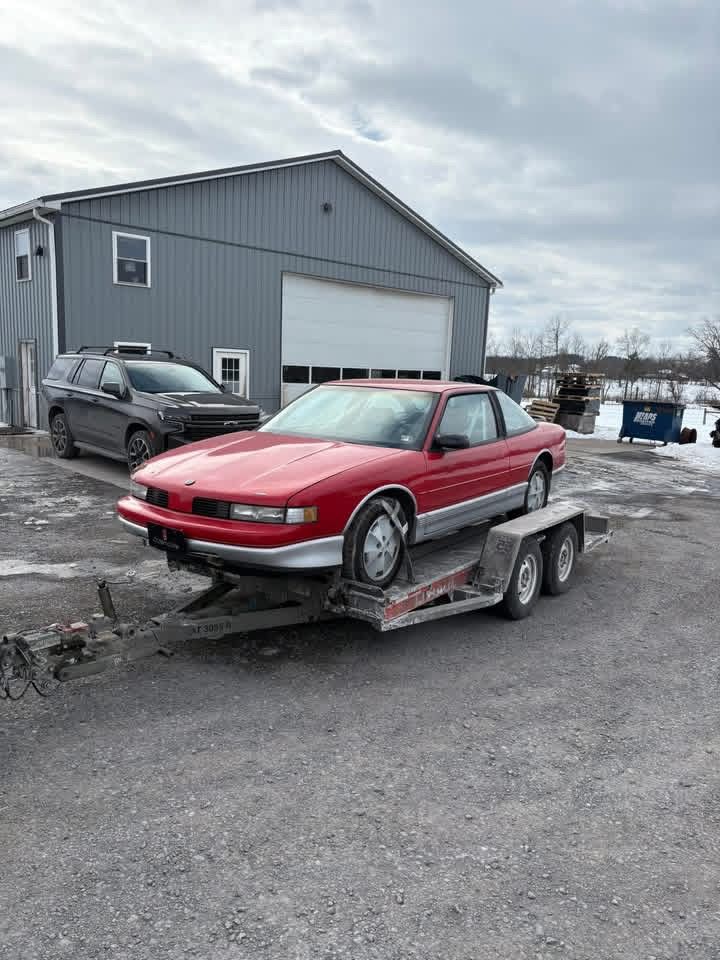
TOM ( SUPERBUICK)
Psych0matt and 7 others reacted to SuperBuick for a topic
8 points -
Old to W body's, new to this forum
SuperBuick and 4 others reacted to AWBODYGUY for a topic
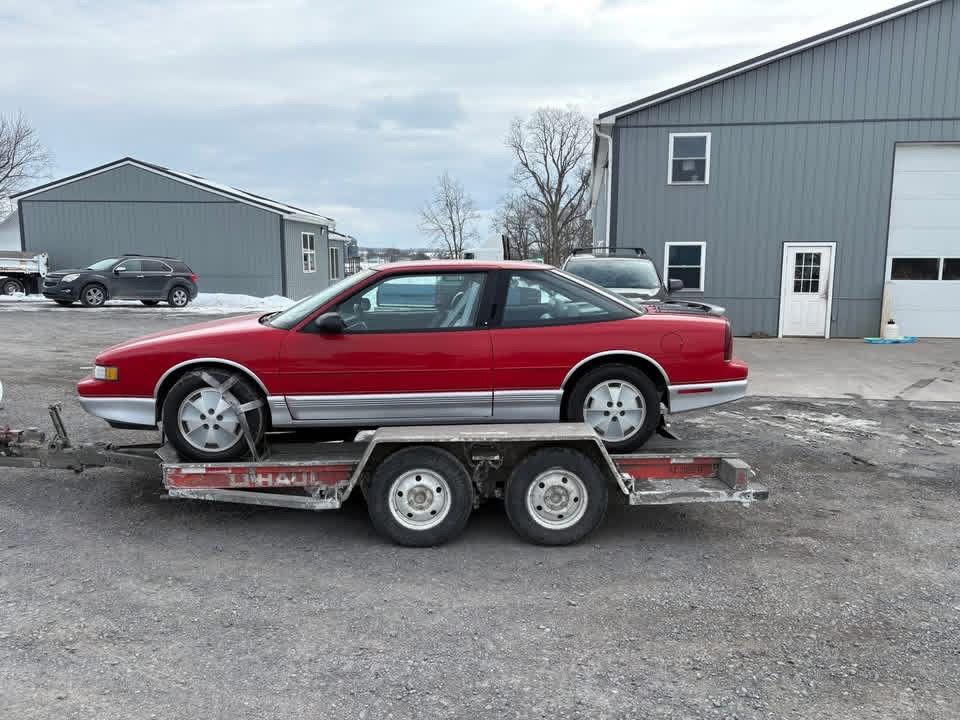
Good day, I have been a W body enthusiast since high school 04. In my student parking lot, we had a 93 Gran prix, 94 olds cutlass supreme, 94 cavalier z24, 95 monte, and my lumina z34. These cars were everywhere! My first car was a 94 lumina z34 (still have it). In 2012 I put a 4.9 PFI in it and it is almost complete. I just need to replace the rear suspension and odds and ends. I have a 99 Monte (needs some work), and I just picked up a decent (needs some work) Cutlass supreme. I am buying a new top for the cutlass on Friday. I want to get black canvass instead of the white (the car has black leather interior). They come in black, grey, white, red. What do you all think would be the best color? Just curious. Very few of these ole buggies still around (at least in my area). I thought I would join the forum to see what you all are up to (I feel very late to the party). I already have seen some super nice examples of these cars (nice job everyone!). Ill post more as spring hits and I can get them out, and work on them more. Also, not adverse to loading them up on the trailer for any meets that might happen. Thank you! Hope you all have a wonderful day!5 points -

Old to W body's, new to this forum
RPE1992GPSE and 3 others reacted to GnatGoSplat for a topic
Welcome! I think black top will look great on it. Better late than never! Not as bustling as it was back in the day, but there's a few of us W-body old timers left. I wouldn't mind seeing pics of the 4.9L in a W-body.4 points -

Old to W body's, new to this forum
RPE1992GPSE and 3 others reacted to 94 olds vert for a topic
4 points -

New here with a 03 Monte Carlo SS
GnatGoSplat and 3 others reacted to rc_customsli for a topic
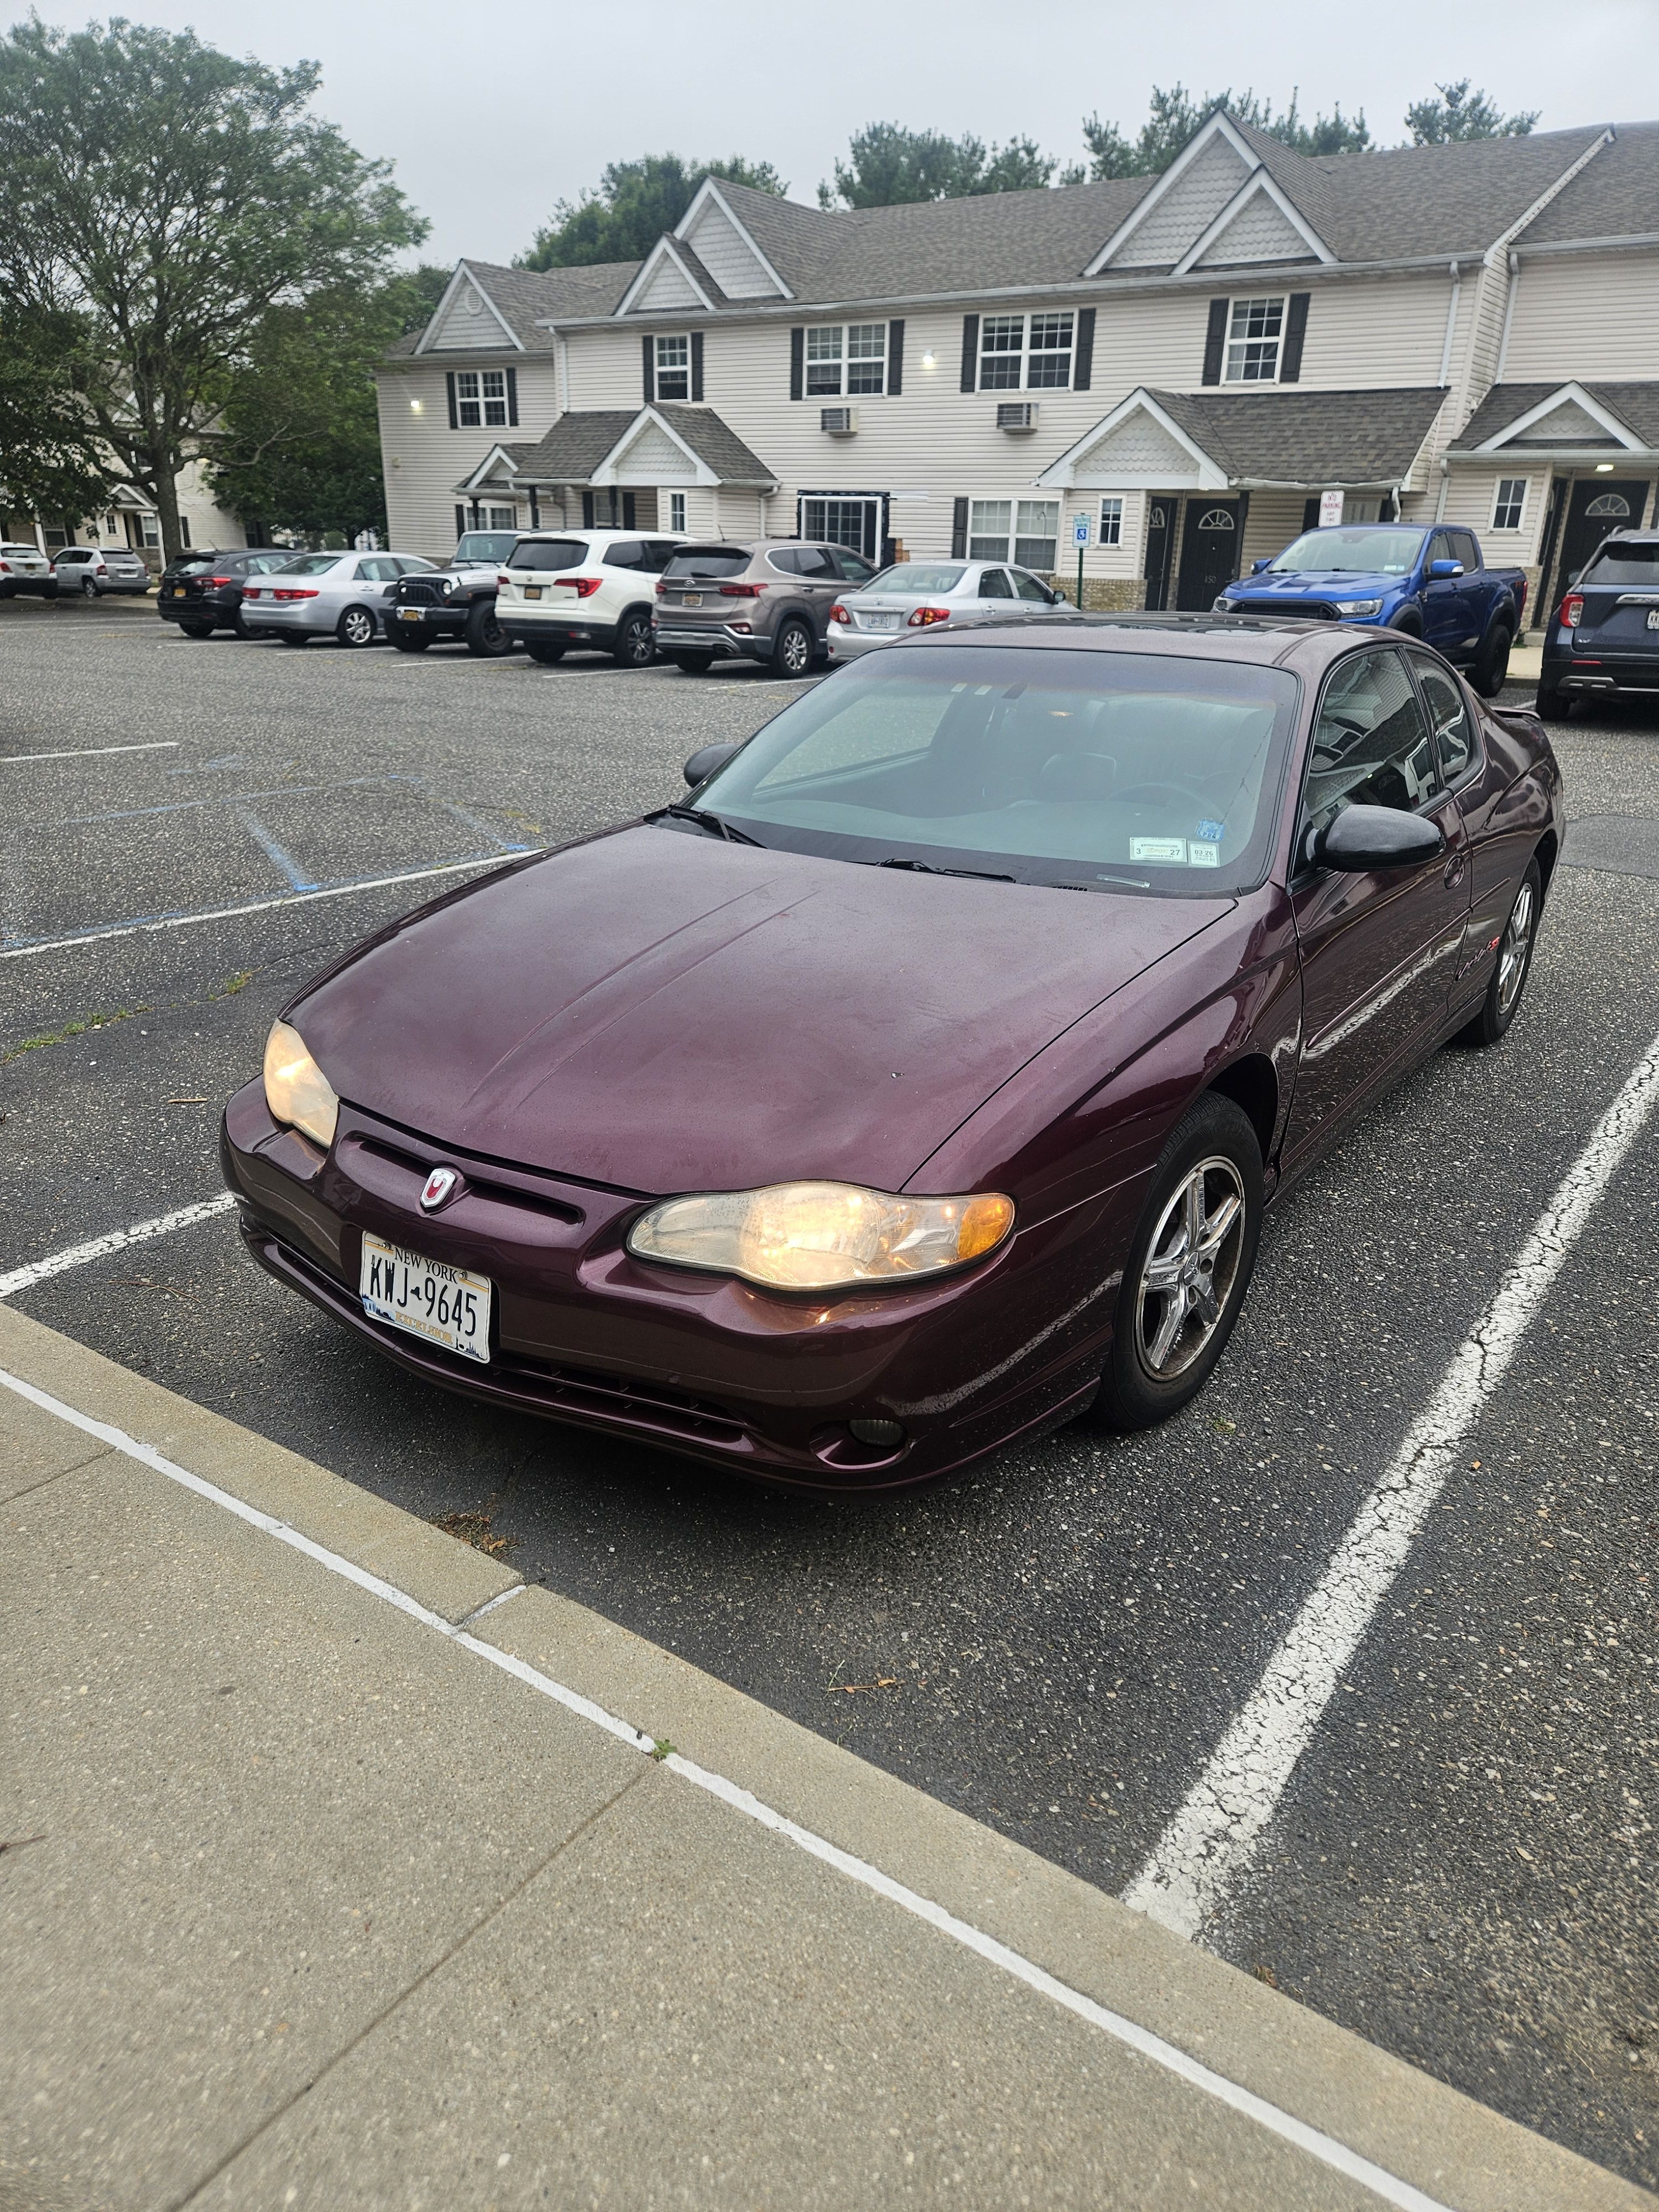
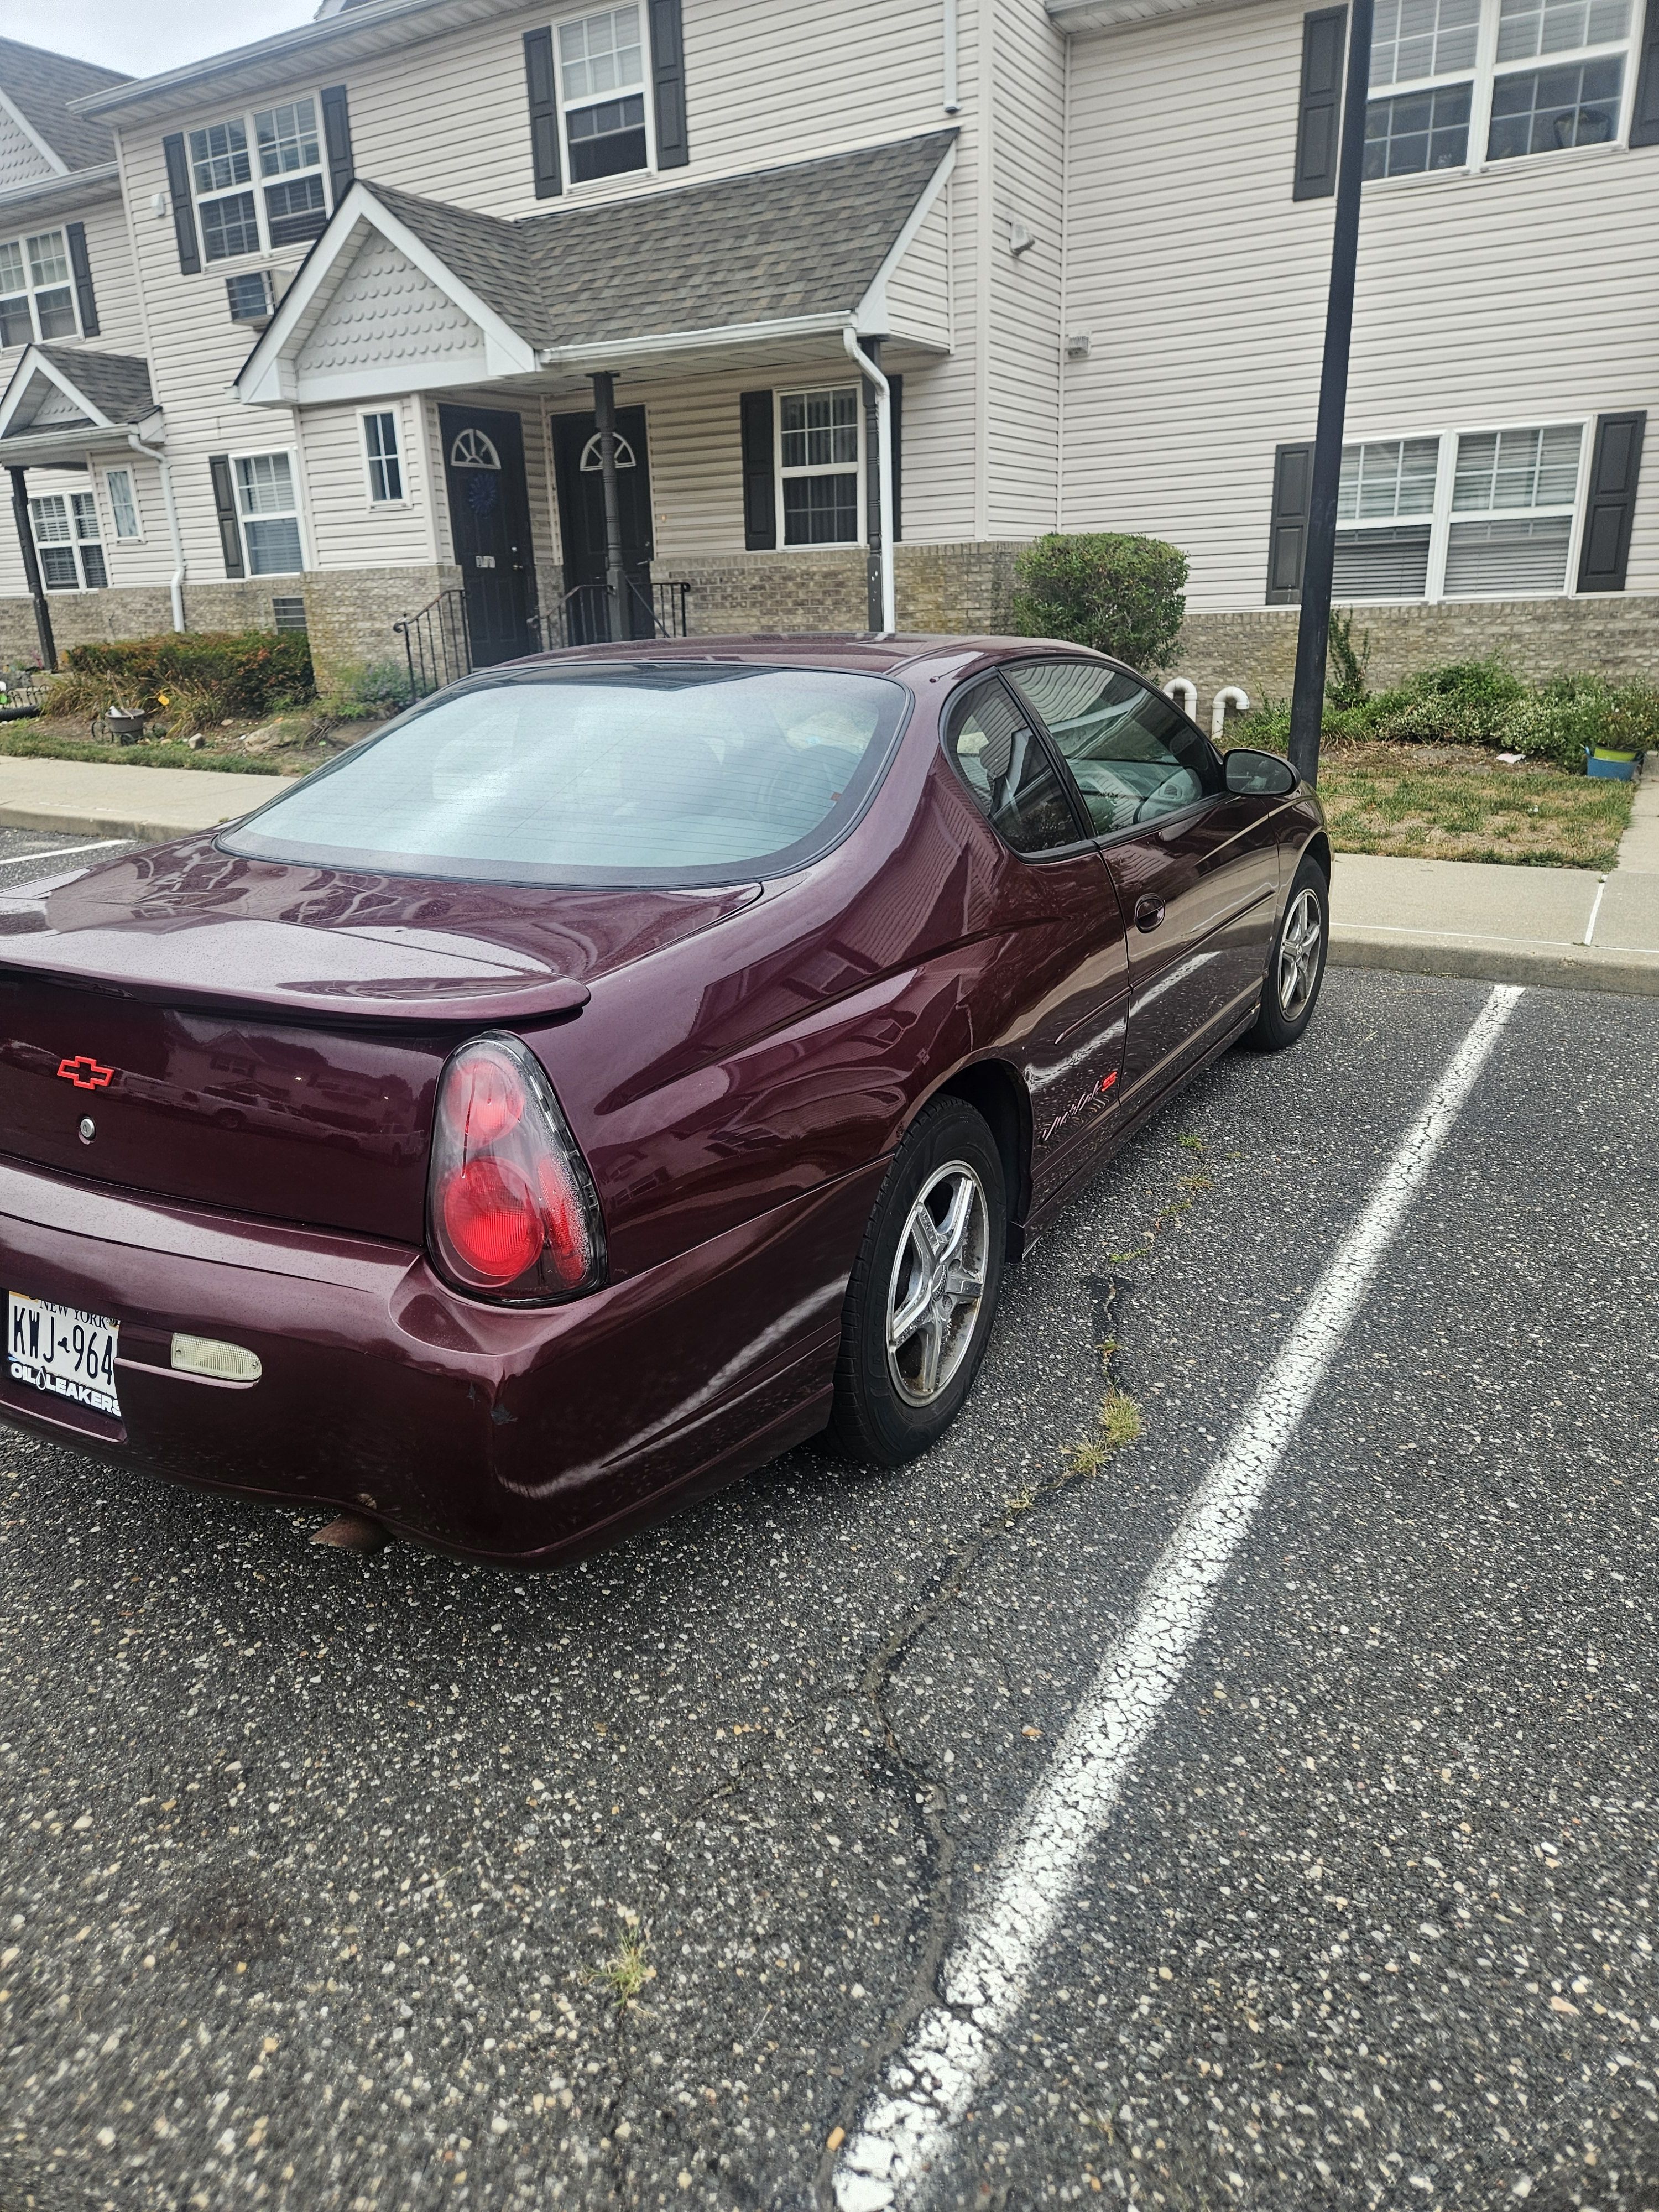
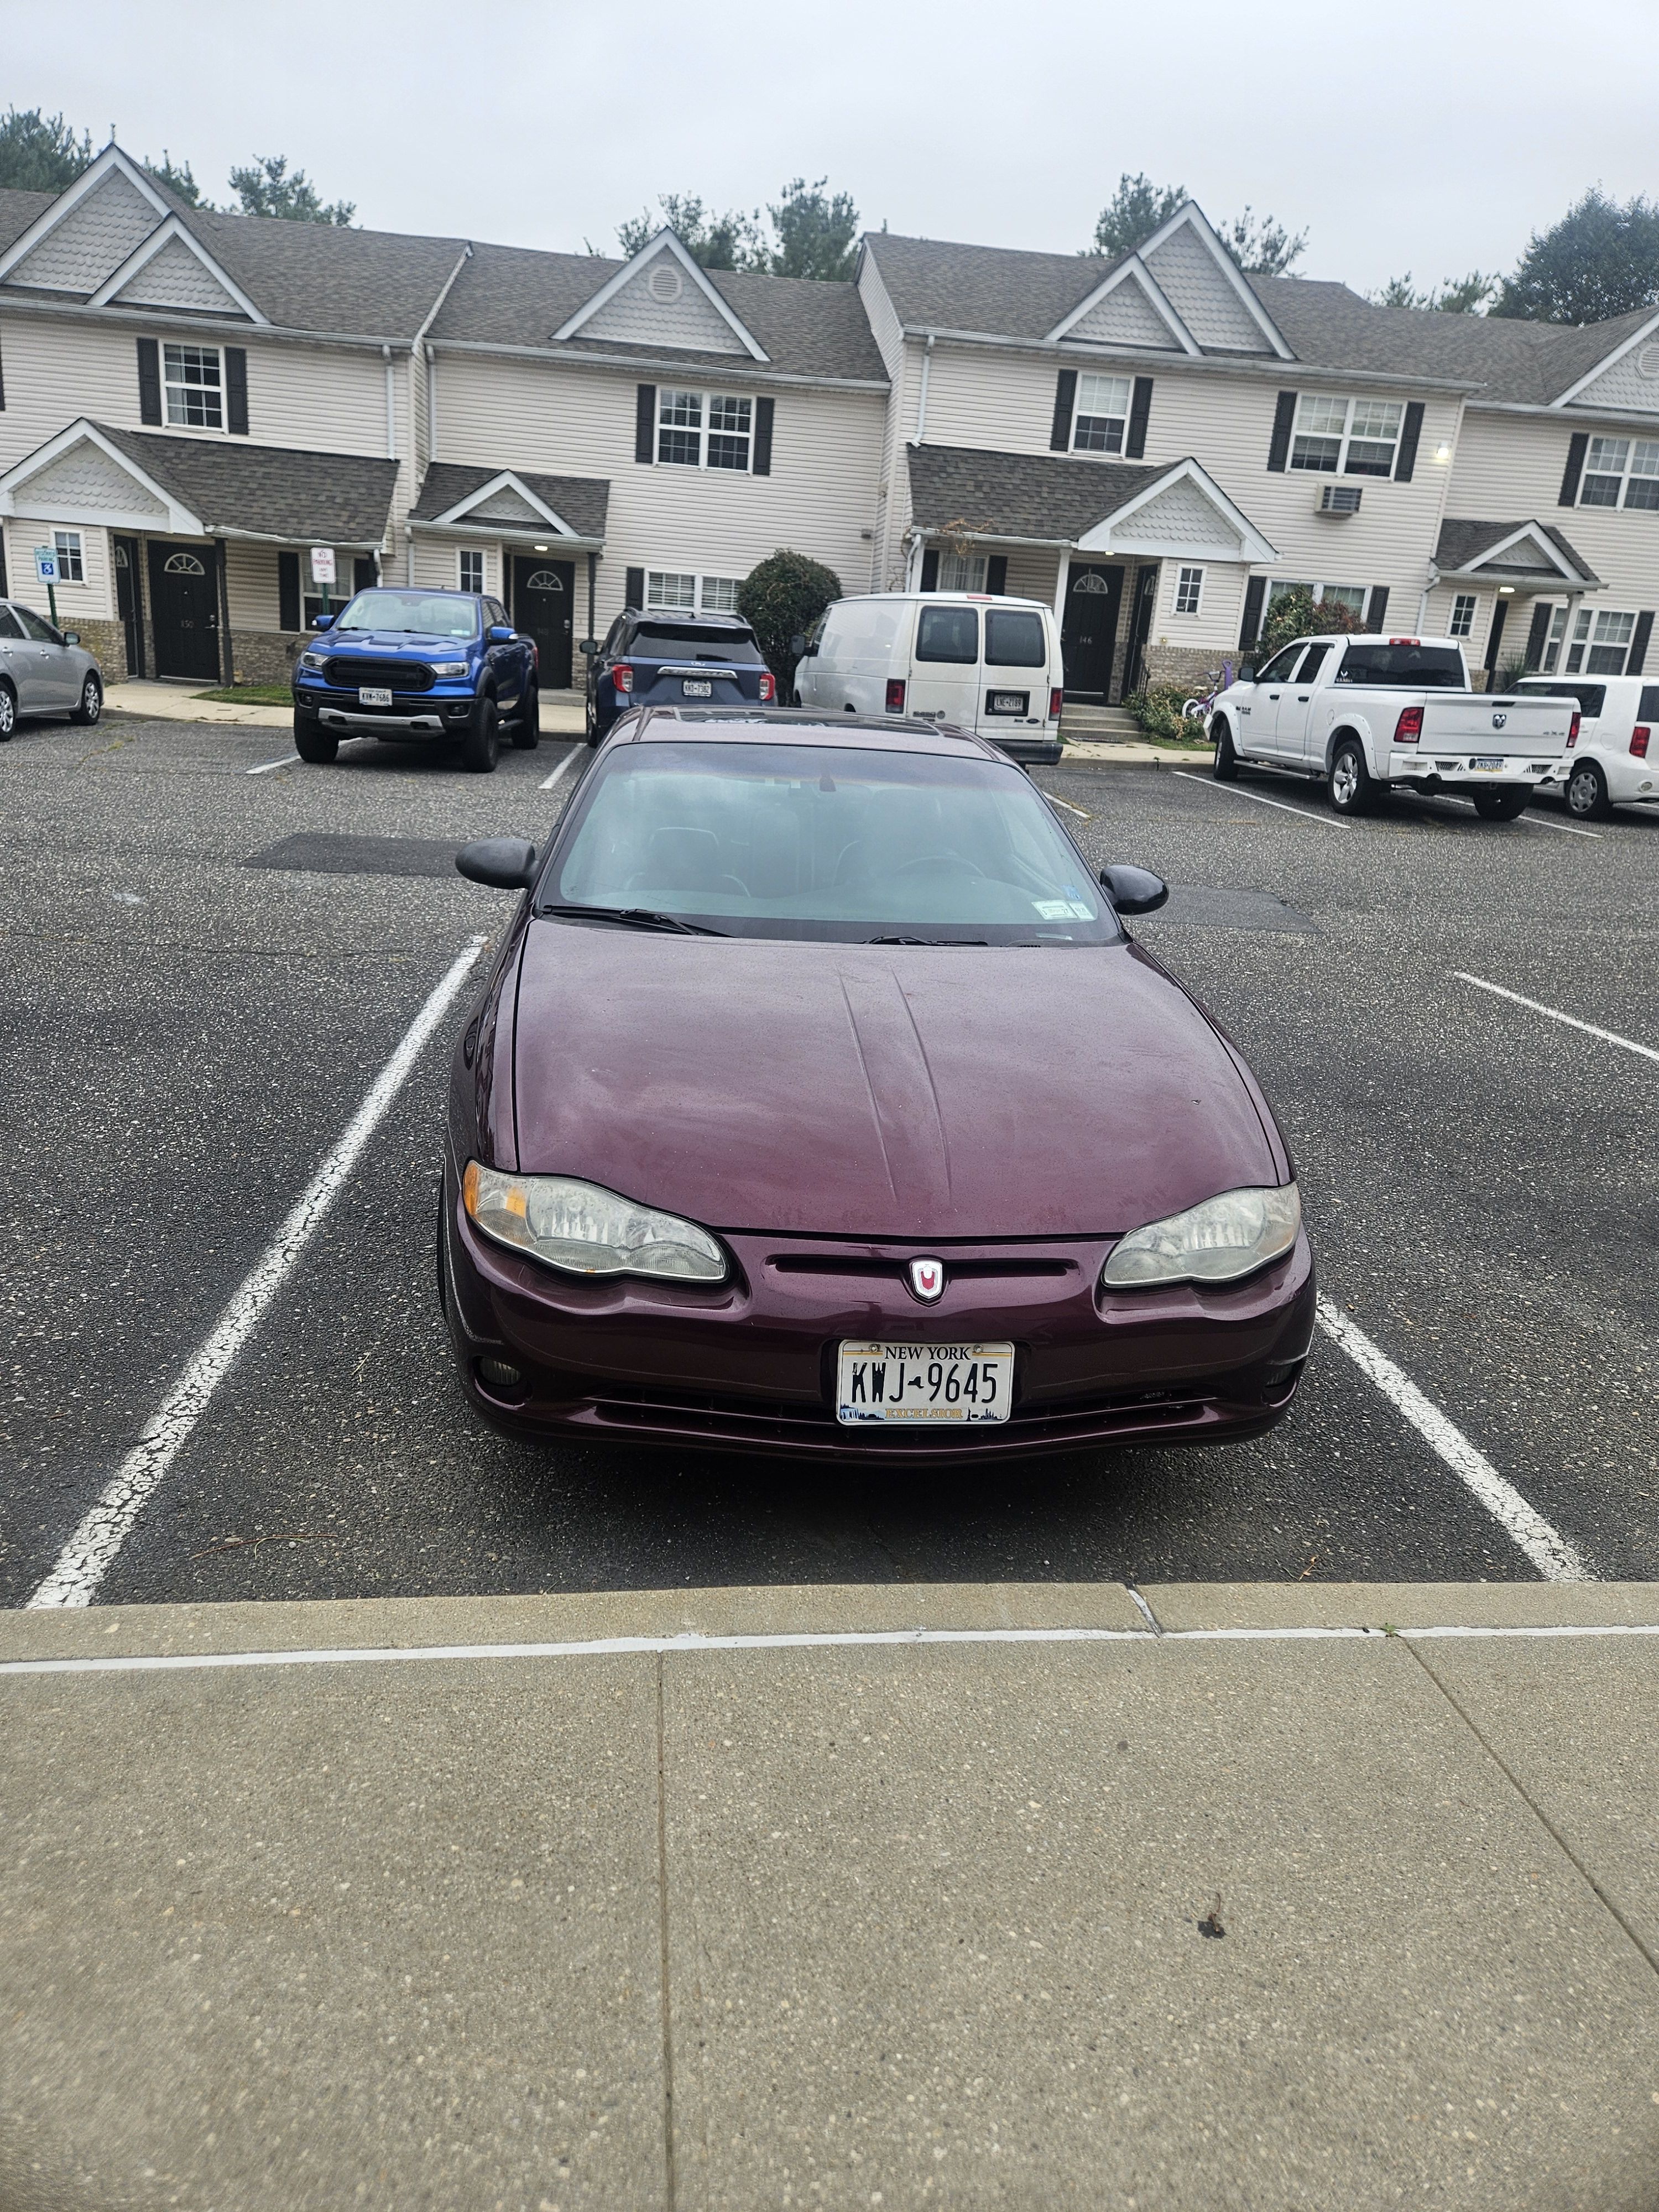
Hey everyone, My name’s Ryan, I’m from Long Island, NY, and I’m new to the Monte Carlo platform. I recently picked up a 2003 Monte Carlo SS and I’m excited to finally start a build thread and be part of the community. By trade I’m a licensed marine engineer, so I’m very hands-on mechanically and enjoy learning the technical side of things. On the automotive side, I’ve worked on and tuned a variety of platforms, everything from basic bolt-ons and wiring to full tuning using HP Tuners, Hondata, and standalone setups. I enjoy both the mechanical and tuning sides of builds and documenting the process. For the Monte, the plan is to start simple, catch up on maintenance, fix worn components, and do some basic bolt-ons while I sort out the body and cosmetics. Once the chassis and body are in better shape, the goal is to turn things up. I’m currently torn between a Gen V M90 top swap or going turbo, but either way the end goal is a "reliable", fun street car that still rips when you get into it. I’ll be sharing progress, asking questions, and learning as I go. Looking forward to seeing everyone’s builds and being part of the community.4 points -
3 points
-

OIL LEAK - 1994 Cutlass LQ1
GnatGoSplat and 2 others reacted to bluecalais79 for a topic
UPDATE: the car is going to the mechanic on 2/23 for this job. It will be going to a chevy dealer whose mechanic has decades of experience which is exactly what I was looking for. This mechanic is semi-retired and picks & chooses the jobs he wants to do. When he learned I'm the original and 4th owner he took the job. I was asked to supply all the parts which I think I will need. Included with these parts will be a new EGR valve and a new Low Coolant Sensor (due to the coolant being partially drained). I made a copy of Gnat's photo so thanks again for this. I will be seeing how the mechanic feels about just going the RTV route in lieu of pulling the rear head. Not only will the job be alot cheaper, I'd really prefer not opening that Pandora's box of potential additional issues if the head needs to be taken off.3 points -
3 points
-

OIL LEAK - 1994 Cutlass LQ1
94 olds vert and 2 others reacted to bluecalais79 for a topic
Thanks all for this. As of the moment the car is in storage do it will be a while before I can check it out, but I will say I get more & more confident this will be the cause. It has been happening for a long time. Form the day I bought this car in Oct., 1994, I always wondered where a quart of oil was going every 1000 miles or so. My money is on this as pictured above, it was probably badly sealed to begin with. And these things don't get better, only worse. I went in and checked my 2020 repair bills from when I had the intake manifold gaskets replaced. The mechanic also replaced the gasket for the part 10130955 as you see in the photo but no mention is made on whether the distributor plug seal was addressed so I am going to assume it was not. While it's a shame all that work that was done to the motor back then would have to be re-done just to get at what needs to be repaired, so be it. Even if I decide to get the rear head pulled to replace the O-ring rather than trying my luck with sealant, that's still way better than having the entire motor pulled. I might as well go the whole 9 yards and have both head gaskets replaced for a one and done job. I should be getting the car out of storage within the next few weeks, I'll keep all posted on how things progress, and thanks again, much appreciated!3 points -

Old to W body's, new to this forum
SuperBuick and 2 others reacted to RPE1992GPSE for a topic
You're in the right place because we love our W-bodies here. Welcome!3 points -
Rust free rotors?
rich_e777 and one other reacted to 55trucker for a topic
The thought here was that you don't drive your W's in the winter.2 points -

Draining Gas Tank - 95 Regal
primergray and one other reacted to architect for a topic
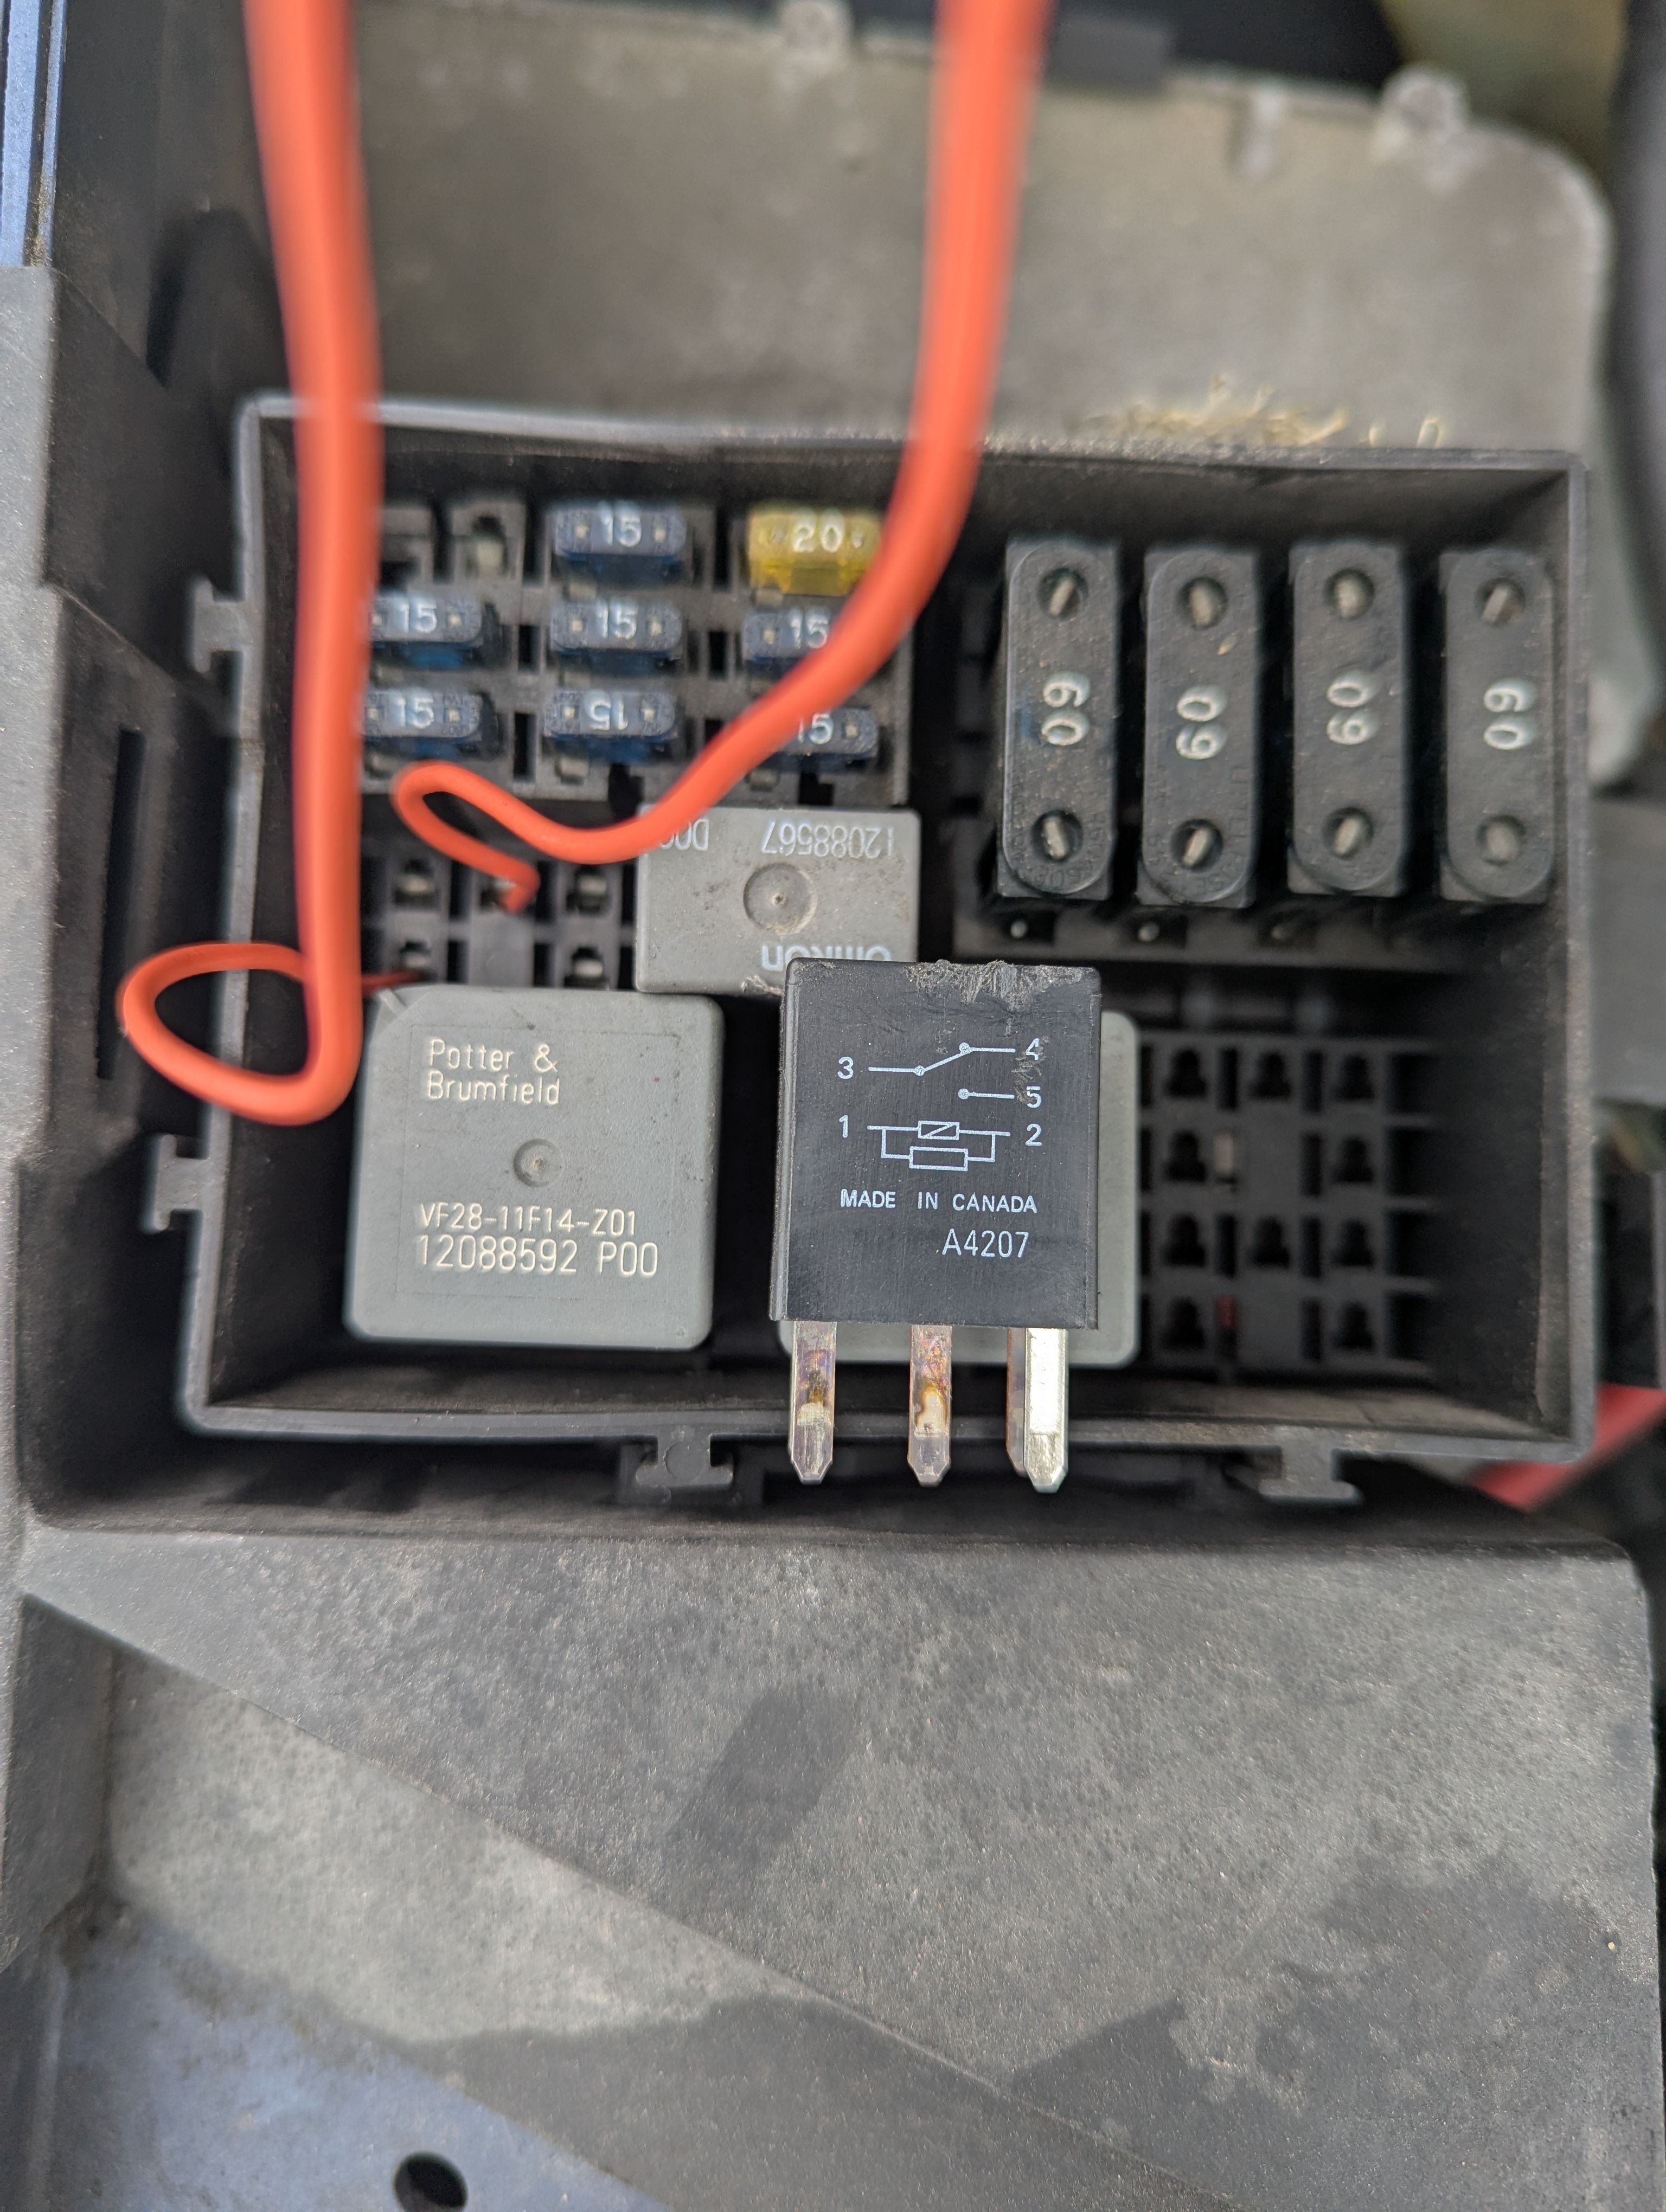
Got the fuel line disconnected and fuel can ready to go but no go on the fuel pump. Do I have it wrong here? The car has been sitting for 6 weeks so the battery may be weak but radio turns on. Edit nevermind I'm an idiot i see the number on bottom of relay and i had it wrong Works like a charm thanks all2 points -

Old to W body's, new to this forum
SuperBuick and one other reacted to Psych0matt for a topic
I wanna see pictures of the Gran Prix, never seen one before! /s Welcome!2 points -

Draining Gas Tank - 95 Regal
GnatGoSplat and one other reacted to Raffaelli for a topic
Does the pump run? If it does, unhook a fuel line under the hood and jump the fuel pump relay.2 points -

Rust free rotors?
94 olds vert reacted to rich_e777 for a topic
Unfortunately its the opposite of that pre-conceived notion of the south, they spread that stuff anytime the temp gets close to 32F overnight and its wet out. Ive researched a bit more into the options available and will go with the coated PowerStop kit from RA. Just trying to generate some conversation I guess...1 point -

Rust free rotors?
rich_e777 reacted to Black92GS for a topic
I mean...those uncoated rotors often flash rust after a single wash and start looking pretty shabby in very short order, especially if the car has the 5 spokes or some other wheel that shows much of the brakes. Definitely won't need protection from salt, but as the coated ones do decently well against that, I can see them lasting forever on a southern car.1 point -

Rust free rotors?
rich_e777 reacted to Black92GS for a topic
Not on my W's...but I use them on my dailies. I prefer to use the rotors with the black coated hat/edge vs the silver coated ones, as I find they hold up better. They seem to hold up relatively well, even throughout the winter. In all honesty though, if your current rotors are still good you could always hit them with a bit of black spray paint. I quickly hit the rear drums of my truck over 5 years ago without any real prep work, and those have held up better than some of the coated rotors i've run.1 point -

new member with 2002 Buick Regal GS
94 olds vert reacted to rich_e777 for a topic
A maroon or dark green GS, tan interior and tinted windows with "Buick" mud flaps hits a 99-04ish nostalgia spot. Would still have to have those logo puddle lights though.1 point -

new member with 2002 Buick Regal GS
rich_e777 reacted to 94 olds vert for a topic
My grandparents had a 04 Regal GS with a "supercharged" emblem on the trunk lid. If I recall it was on the driver side.1 point -

Which motor mounts brand?
BRGS reacted to Raffaelli for a topic
GM if you can get them, anchor would be last resort. I just ordered a complete set of DEA mounts a couple days ago ago for my Lumina.1 point -

OIL LEAK - 1994 Cutlass LQ1
GnatGoSplat reacted to 94 olds vert for a topic
I was able to replace the o-ring and add an extra gasket with the information from the old double gasket thread all without removing the rear head. I also put RTV on it and it never leaked in the 10+ years I owned the car after the repair.1 point -

OIL LEAK - 1994 Cutlass LQ1
GnatGoSplat reacted to bluecalais79 for a topic
UPDATE - I believe I may have found a shop with a mechanic having the experience to have worked on these motors that will do the job. My first hunch was to go to a Chevy dealership as the Lumina had these motors as well, those Z-34's you almost never see (?). As soon as they found out I was in no rush to get the car back, they were more open to the idea of working on it. I guess they thought I wanted it done yesterday. Not the case, anytime between now and July 22 will do........ Stay tuned1 point -

OIL LEAK - 1994 Cutlass LQ1
GnatGoSplat reacted to bluecalais79 for a topic
You are correct on that point, I will be checking my local independent shops to see if they want the job. Not everyone wants to work on these. The first thing I will hear is the job would cost more than the car is worth. I bought this car new in 1994. I gave it to my dad in 2012 who in turn sold it to my brother in 2018. My brother did a swell job of running it into the ground, but when my dad passed away 1/2020 my brother didn't want the car anymore and showed up at my house a month or so later and handed me the keys. That makes me the 1st and 4th owner. There is no mechanic on this earth that's going to be successful in convincing me that any job needed to be done on this car will exceed its value. I watched a 24 minute video earlier today on how to do this job. II won't be doing it as a result of watching it. These videos are valuable in that respect as well.1 point -
OIL LEAK - 1994 Cutlass LQ1
94 olds vert reacted to White93z34 for a topic
I've ground the top ridge of the pump drive down slightly to allow for more room to work, then use a distributer gasket for a Lumina van with a 3.1, just give it a cut and slather it in RTV, seems to work well. and I'll be damned if I'm pulling a head just for that.1 point -

1992 Cutlass Supreme Coupe Door Speakers
RPE1992GPSE reacted to GnatGoSplat for a topic
I think the mounts will fit the doors, but I don't know that they'll fit under the door panels. 95-96 used 5.25" in these angled enclosure pod things that stick out quite a bit while 88-92 used 4x6's on a flat plate.1 point -

RPO code for 3.29 gear ratio in olds intrigue.
pwmin reacted to GranPrix for a topic
So my hunt begins for an intrigue with the 3.5, I'm looking specifically for a GL or GLS with the 3.29 gear ratio. Anyone know the RPO code for that to help me in my searches? Google and rpocode.com aren't helping me1 point -

Draining Gas Tank - 95 Regal
architect reacted to 55trucker for a topic
There are various designs...plastic or steel.......seeing as you don't intend on getting into this sort of repair again I'd suggest just picking up the plastic set, you should be able to find them at Harbor Freight. The inlet (pressure side) is 3/8 as for a gas can..really up to you..pick up a pair of containers that will hold a total of 15 gals?1 point -
1 point
-
Convertible Dome Light Switches
94 olds vert reacted to j_mezz for a topic
Hi guys, I'm still alive and well and still have dome light switches! The site used to send me an email when someone posted on this thread, not sure if that doesn't work anymore? My direct email is mezz@benris.com if anyone else is still looking or switches.1 point -
1 point
-
1 point
-

3.8sc swap into 94 Oldsmobile cutlass Supreme convertible
Psych0matt reacted to Bake82 for a topic
Here is info for the the swap based on my own experience of swapping my 88 cutlass w-body. 3800 swap w-body From 98/99 Monte Carlo z34/lumina LTZ with 3.8NA Needed - power steering lines (buy new) - Heater hoses (buy new) - Exhaust downpipe (or have one made) - AC system - all lines/parts from the engine bay (compressors can be from the gtp too) Best to have from the Monte Carlo/lumina but not mandatory - engine bay wiring harness - Cv shafts (buy new if you don’t have them) From gtp donor - motor - Trans - Trans cooler lines - rad hoses - Motor mounts - Cv shafts - PCM - Engine bay wiring harness Notes: cv shafts if using an HD trans you need to use the gtp passenger inner with the 1st Gen shaft and outer joint. If you get them from the Monte you can use the stock Monte drivers side. Wiring: if you can’t find the Monte Carlo harness you can use the gtp harnesss, and merge it into the 1st Gen c100 connector. With the Monte harness it comes with the c100 you just need to remove a few pins around and overall much easier but can be hard to find. You’ll need the GM service manuals for your donor harness and your original car to match the c100 connector. If using a Monte harness you will probably want to add the BBV wiring. This will also convert the car to obd2 PCM: you will need to get the vats/security removed(it’s possible it won’t be an issue but be aware it probably will be) and probably want to remove a few other codes. Rad: you could use your original, but the donor gtp rad will be bigger and fits into the chassis. I’d say it’s recommended but not 100% necessary.1 point -
1 point
-

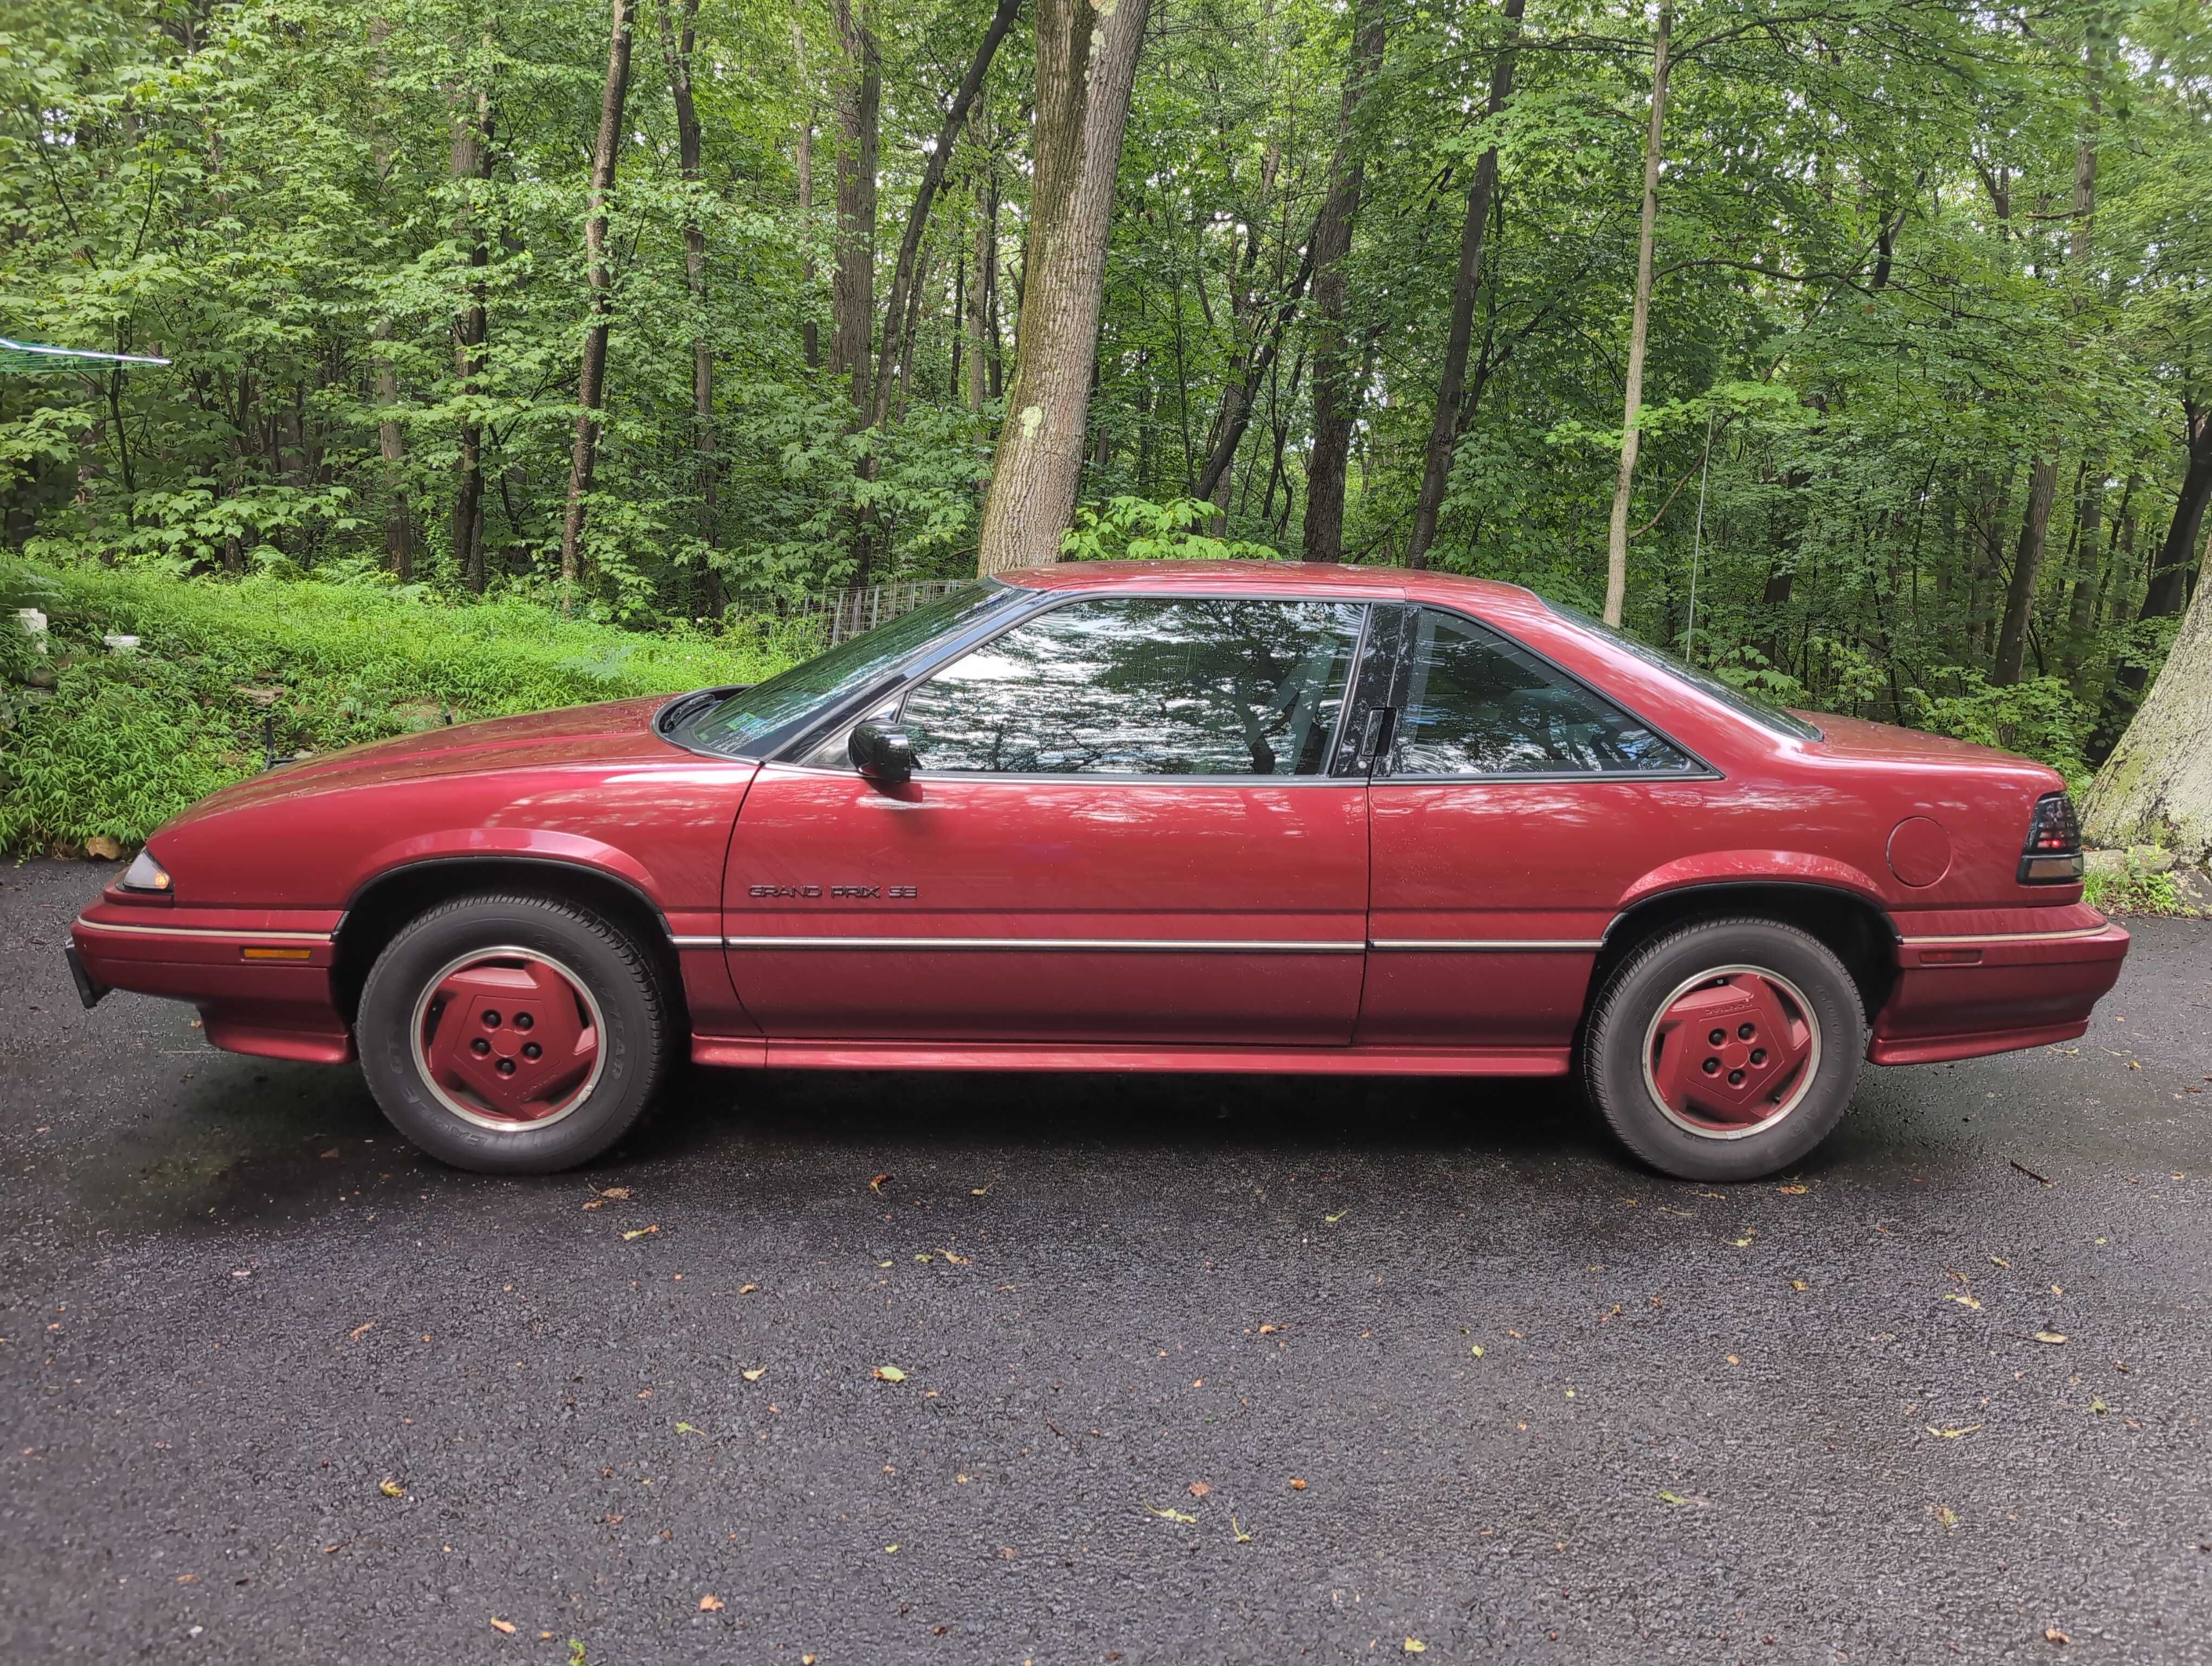
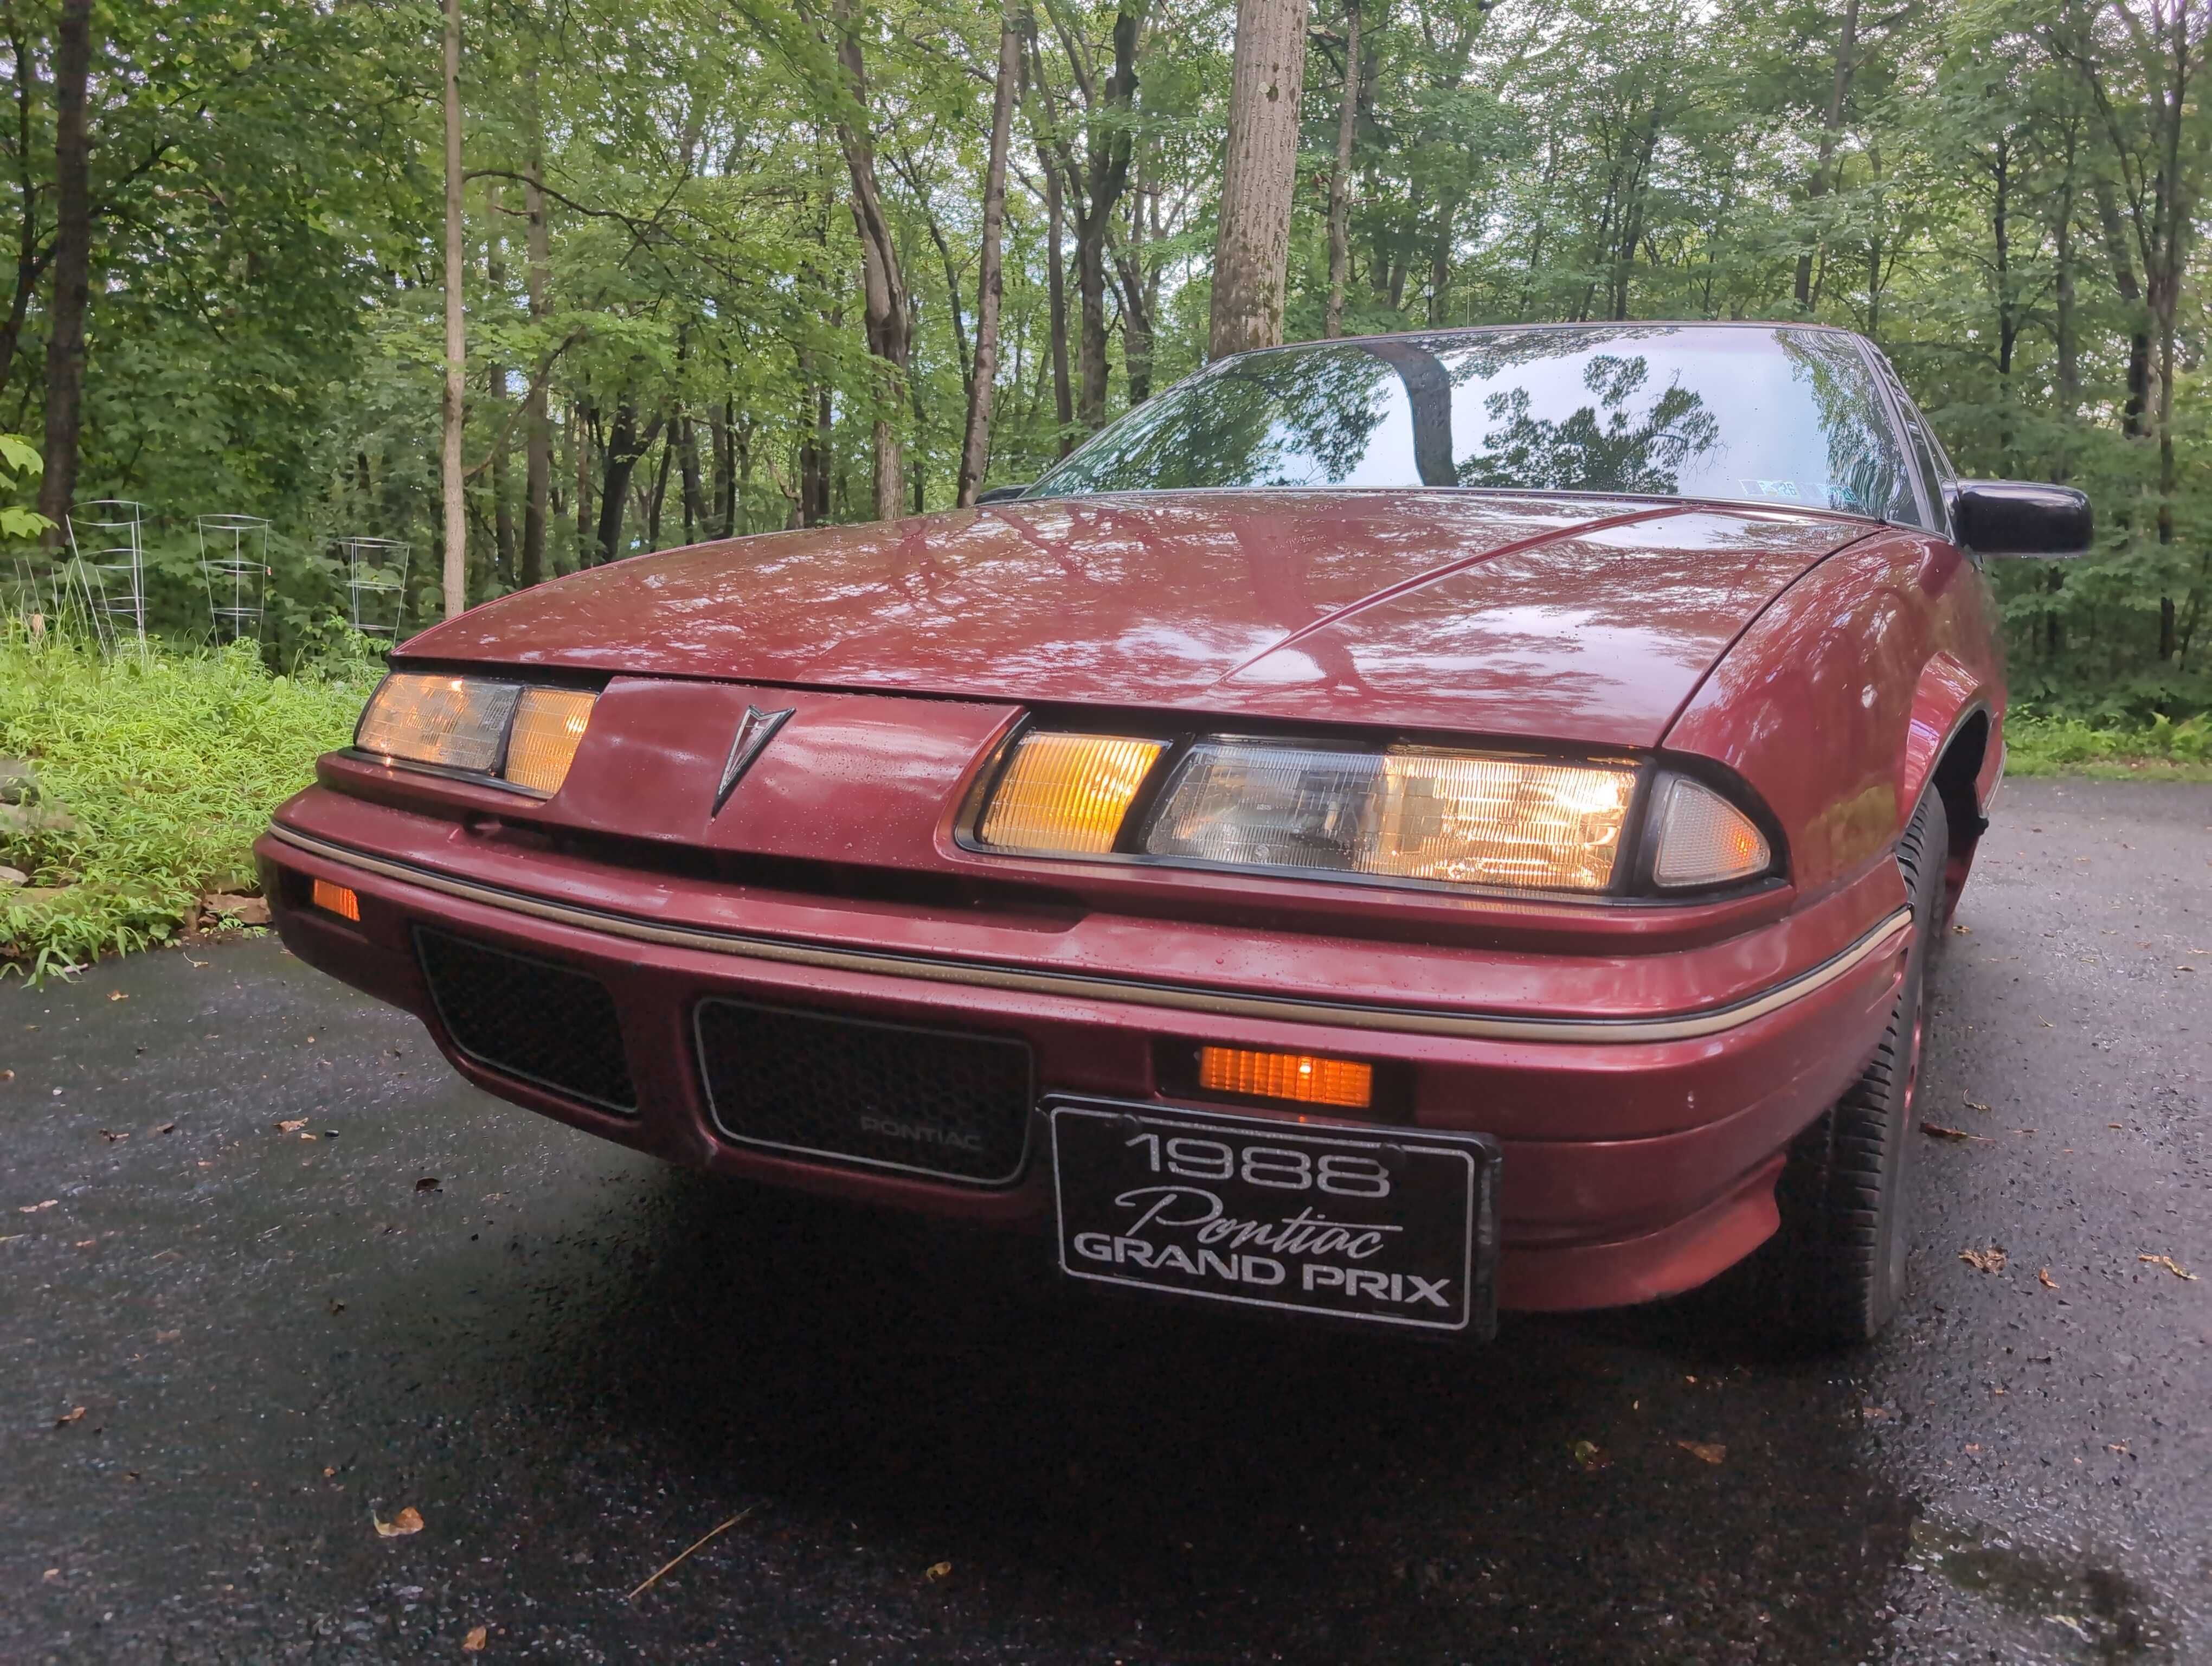
1988 Pontiac Grand Prix SE w/Getrag 282 5-Speed
primergray reacted to amiko for a topic
Greetings forum members! New member, so thought I'd take a moment to introduce myself. Last Spring (2025) I acquired a relatively pristine (54k miles) 88 Pontiac GP SE. I hadn't even known they made these with a 5-speed, so I hadn't explicitly been looking, yet lo and behold here we are. I've got it on good authority I'm only the second owner. It started life in central NY but spent the last 10 years parked in a sweltering hot garage in central Florida. It was never ever even registered in FL. So it's got some internal heat damage, which I've been repairing. The door upholstery glue had given up years ago. The stereo was a mess, but I replaced all of the capacitors on the amplifier boards and even plumbed in a bluetooth module to the cassette inputs. I'm not much of an auto mechanic myself, I do cybersecurity for a living, but I don't mind getting my hands dirty on projects like this. On the serious mechanical side, I've had it at a local "rural mechanic" who's did a flush on all of the fluids, changed out the master/slave cylinders, and replaced the brakes. I seem to have dodged the bullet of any serious rust or corrosion, but I know these are prone to rotting out their rear strut towers so I plan on installing a strut tower brace and blast the insides with as much cavity wax as they'll take. Any other "gotchas" tips, tricks, or suggestions for keeping something like this roadworthy? Google's AI guestimates, based on statistical analysis of scrap rates versus production numbers, there may only be 15-25 "roadworthy" versions of this model, trim, and transmission combinations left anywhere I didn't buy this planning on a super rare preservation "duty" yet here I am...any suggestions would be greatly appreciated. Don't worry, despite living in the salt-belt, I don't plan on driving it in winter for that reason...I do hope to drive it during the warmer months though! An 88 GP was my very first car when I turned 16, so I'd always been looking for a decent one, "just for fun". I never planned on ending up with a bigfoot-riding-a-unicorn of rarity...something I'm not all together happy about...yet here we are!1 point -

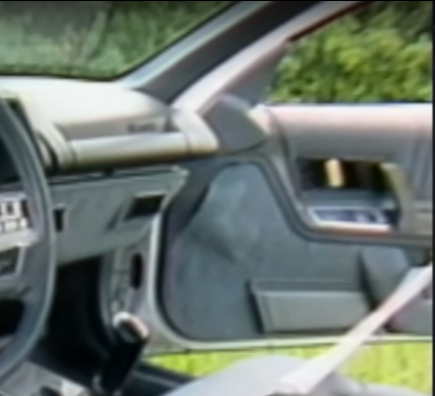
1988 MW with John Davis discussing the GM10 coupes
GnatGoSplat reacted to Black92GS for a topic
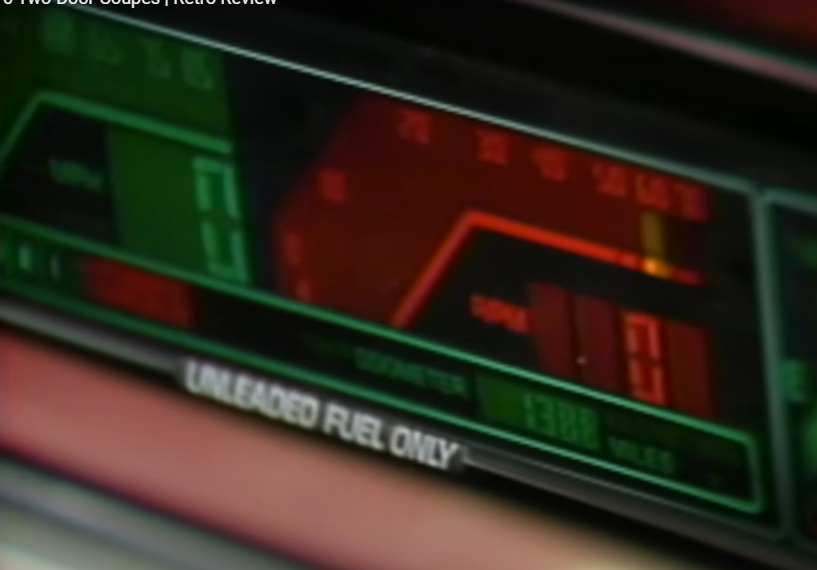
Gotta love that quality 80s GM fit and finish! And that Regal is very oddly equipped. Bench seat, manual locks and windows, no rear reading lights.....but it has alloy wheels. Then there is this: That cluster must be from a pre-production vehicle, as the tach was never red like that on any of the production ones. My old 88 Regal was a November 87 build, and the tach was green like the rest of the cluster.1 point -

Auto vs 284 PROM - memcal
92Lumi reacted to Imp558 for a topic
BCC= AXSJ2368 Scan id= 2391 Part number= 16162364 Release date= 11/09/90 Engine size= 3.4 Trans Type= Auto trans ECM/PCM: ECM #16149396 Used in cars: Chevy Pontiac Oldsmobile Possibly used in: LUMINA LUMINA EUROSPORT LUMINA Z34 GRAND PRIX LE GRAND PRIX SE GRAND PRIX GT GRAND PRIX STE CUTLASS SUPREME SUPREME INTERNAT'L CUTLASS SUPREME SL CUTLASS SUPREME CONV Options: With LQ1 3.4L GAS 6 CYL (3.4X) SFI OHC V6 HO With M13 AUTO 4 SPD (4T60-E) With NA5 FEDERAL REQUIREMENTS With QGW ALL P215/60 R/16 N BL R/PE ST TL HWY With QXJ P225/60R16/N NL R/PE ST TL AL31 point -

Auto vs 284 PROM - memcal
92Lumi reacted to 55trucker for a topic
91 auto which is what I have in my 91 GP is the AYSZ, AUSJ is the T code engine (3.1) W body for 91, AUBU is the T code engine W body for 93 auto trans these all come out of the 16149396 ECM I have nothing on the ASXJ1 point -

Auto vs 284 PROM - memcal
92Lumi reacted to 55trucker for a topic
The 4 memcal's used with the 91-93 LQ1 are AYSZ, BBUK, BCDT & BCFA. BBUK is the early manual trans memcal, & BCFA or *1441* is the later manual trans memcal.1 point -

3100->3400 swap
92Lumi reacted to Nas Escobar for a topic
If you use your resources correctly, you can get a 3800 for the same price as the 3400. The smart thing would be to look for an S3 and then get an S2 UIM to make it all work. Anyways, the flywheel between the engines are the same. Both used the same 4T65-E trans. The motor mounts should be the same as well. My understanding is that the blocks are the same but the internals are what differentiate them from a 3.1 liter and a 3.4 liter.1 point -

Swapping 2.8L for 3100
92Lumi reacted to 1QUICKHATCH for a topic
Use the trans that is in the 88 and the ecm from the 2.8 as well. If the 95 doesn't have the coolant temp sensor for the Guage/light in the rear head you will have to install a 3 wire temp sensor where the 2 wire is. The throttle cable from the 95 is needed as well. If your '88 has a 3spd you will have to rig up a kick down cable linkage on the throttle body some how. I welded a bracket to the throttle body myself, wasn't perfect but it made it drivable. Sure there may be some other things that I'm missing since it has been about 6 years since I swapped my old lumina!1 point -

4t65 into 3100 1st gen w body swap
92Lumi reacted to l67ss for a topic
on to the wiring this will cover all 97-99 monte/luminas(possibly cutlass too but im not sure) on the c100 plug switch the b1 and d5 wire. literally cut both and switch positions. i also cut and taped off c1 as its unused. will post 2000 lumina and 97 and 98 monte c100 pinouts tomoro mebbe nitehawk or someone else with a3800 swapped 96 monte will post that second part of wiring theres a plug on the d side that plugs into the harness on the fender for the wipers stock has a 6 pin plug, 2000-01 is a 3 pin. cut the female end off ur original harness and the male? end off the donor car with a few inches on each plug. simply match colors splice and b VERY liberal with the electrical tape. voila you just made ur adapter harness for wipers. if ur gonna 3800 swap later this adapter will work for that too will post pics of my adapter and location tomoro also1 point -

3400 Swap done!
92Lumi reacted to RobertISaar for a topic
get it tuned and at a minimum, adjust the TV cable so it shifts later, the LA1 makes more power past 4700, think more along the lines of a 6000 RPM shift. better yet would be to replace the th125C with a 4T60-e1 point -

3400
92Lumi reacted to Brian P for a topic
any '96-03 3400 will drop right in with the 1st gen OBD2 harness. You will have the easiest time with a '97 system (harness and PCM), I'd go with that. A '96 system would work as well (though it's less tunable should you go that route), but with either setup you go with, grab a PCM from a '96-97 Venture/Montana/Silhouette.1 point -

3400
92Lumi reacted to 1QUICKHATCH for a topic
the last 2 3400 swaps I did used 3.1 injectors on stock obd1 ecm's and they both run fine. the bigger injectors will make more power with a tune, but the first thing I would do is start with a better fuel pump. when I first put the 3100 in my old 84 cavalier I went to the track then swapped to a Camaro LT1 fuel pump and went back the next weekend with no other changes an dropped almost 4 tenths off my ET. if I was doing a basic (stock) 3400 swap on a obd1 car I would use 96-99 3400 or 3100 injectors with matching fuel rail (2000+ injectors will not work on stock ecm) or 2.8/3.1 injectors with a 2000+ 3400 fuel rail that has the higer pressure regulator. But if I was mooding a 3400 and dropping it in I would use injectors sized for the fuel requirements of the engine and a full tune.1 point -

3.1 to a 3.4 i want power?
92Lumi reacted to 1QUICKHATCH for a topic
you need the front passenger side block mount. your ecm will work fine. you will most likely need rad hoses from the 3100 w-body as well. The engine just get any 96 and up 3400, the 2000 and up tend to be better. Its best to get one from a grand am or other car cause that will give you the proper throttle cable bracket on the throttle body.1 point -

3.1 to a 3.4 i want power?
92Lumi reacted to 1QUICKHATCH for a topic
keep it simple and just bolt in the 3400 its less power than the TDC but less weight too! I would just use the stock tranny to keep cost down. you will need the front pass. side block mount from a 3100 equipped w-body because the bolt holes are in different spots, at least just on that spot of the block. use a coolant temp sensor from the 3400 (3-wire ) and wire up the temp guage to it insead of the back head cause the 3400 has no hole for the sensor. you will also need a throttle cable and exhaust manifolds for a 3100 w-body. Most people use the 3.1 injectors and harness when they do the swap untill they go to tune it. stay away from the '04+ 3400's in the equinox (I beleave it is) they have a plenum that faces the opposite way and a different crank sensor pick up on the crank that will not work with your 3.1 ecm. that is all that is comming to mind right now.1 point -

Engine keeps shutting off every 3-4min...WTF?!?! 3.1mpfi
92Lumi reacted to Jon89le for a topic
Yup, it was the ECM. Cars running fine now. Now i just have a spare MAP sensor in my garage,lol.1 point -

Engine keeps shutting off every 3-4min...WTF?!?! 3.1mpfi
92Lumi reacted to Jon89le for a topic
Well i tryed a new ECM last night and it worked fine. It stood on for 30min and that was with shutting it off twice in between. The cars idle is even smoother than before now. In a little bit im going to drive around and test it out so ill let you guys know how it goes. I think im still going to test that fuel pressure thing out though. Just to make sure...1 point -
1 point
-

TOM ( SUPERBUICK)
SuperBuick reacted to GnatGoSplat for a topic
I would probably keep it as-is just for the novelty of it! A Quad4 W-body is rare enough, a Quad4 5-speed is extremely rare!1 point



.jpg.2219ddc82af1460f30f426ab927e4a60.jpg)
